Baking, Children's Birthday Parties
My Birthday Cakes
I absolutely love making birthday cakes. I love baking in general but making birthday cakes allows me to unleash my creative side. Here I share with you the birthday cakes I have made for my two daughters over the last 6 years. I’ve developed a bit of a plan for doing them now which involves baking the cake 1-2 days prior to the party and always decorating the cake the day before the party. There are 3 different recipes that I tend to have as my go-to birthday cakes; these all stay moist for many many days which is perfect when you are trying to be organized!
So, here are some of my cakes! Ive presented them in the order that I’ve made them. I’m not a professional cake maker but I’d like to think I’ve improved over time.
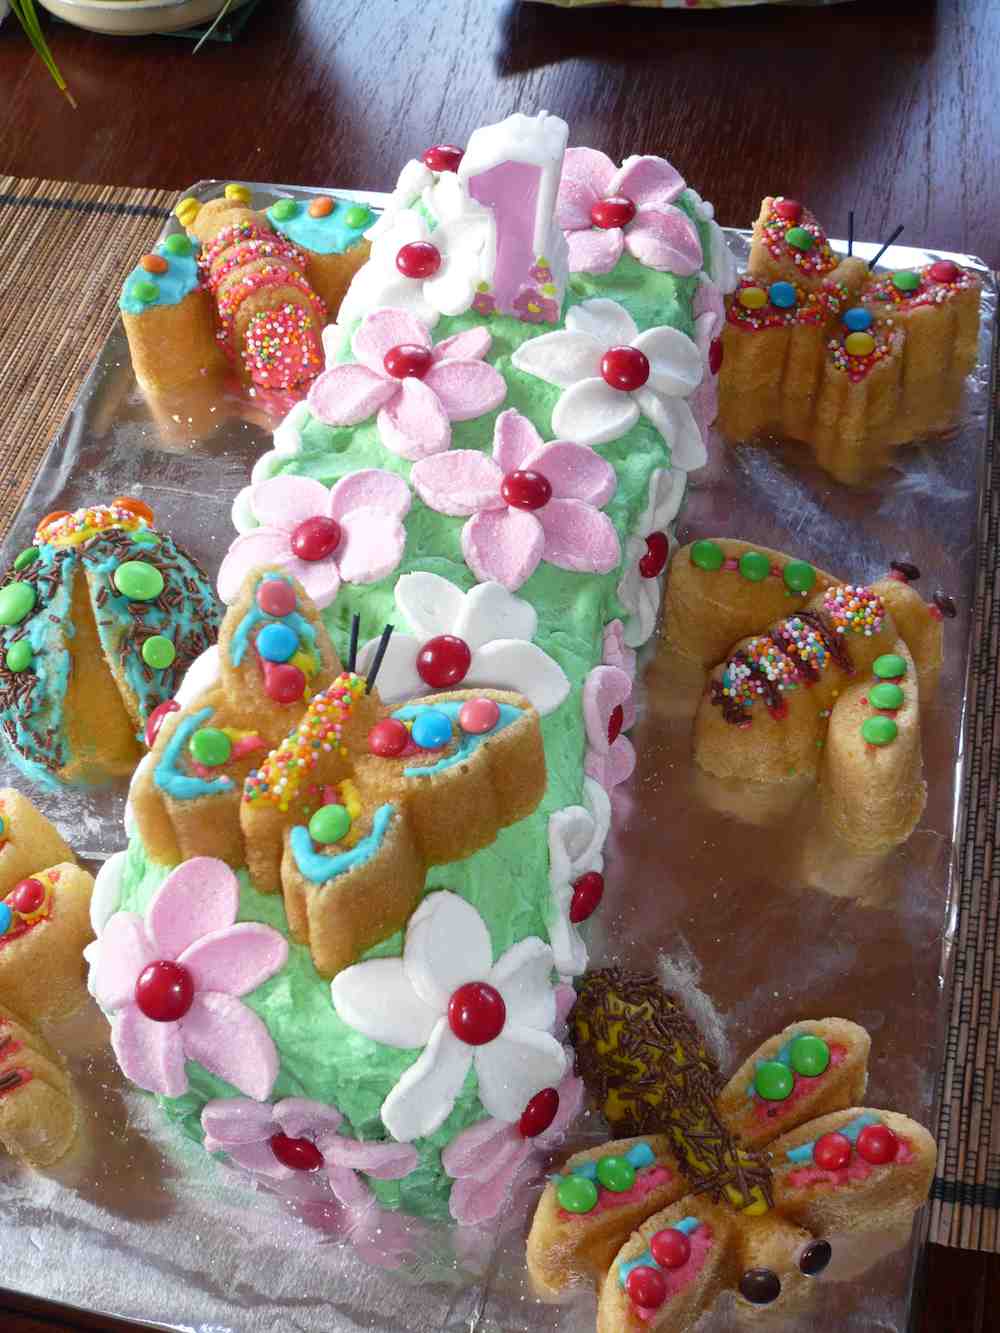
This is Amanda’s 1st birthday cake. It represented a garden with flowers and insects. My husband and I decorated the insects the night before and it was heaps of fun. The flowers were all made by cutting marshmallows and placing a smartie in the center; a method that can be found in the AWW Birthday Cake books.
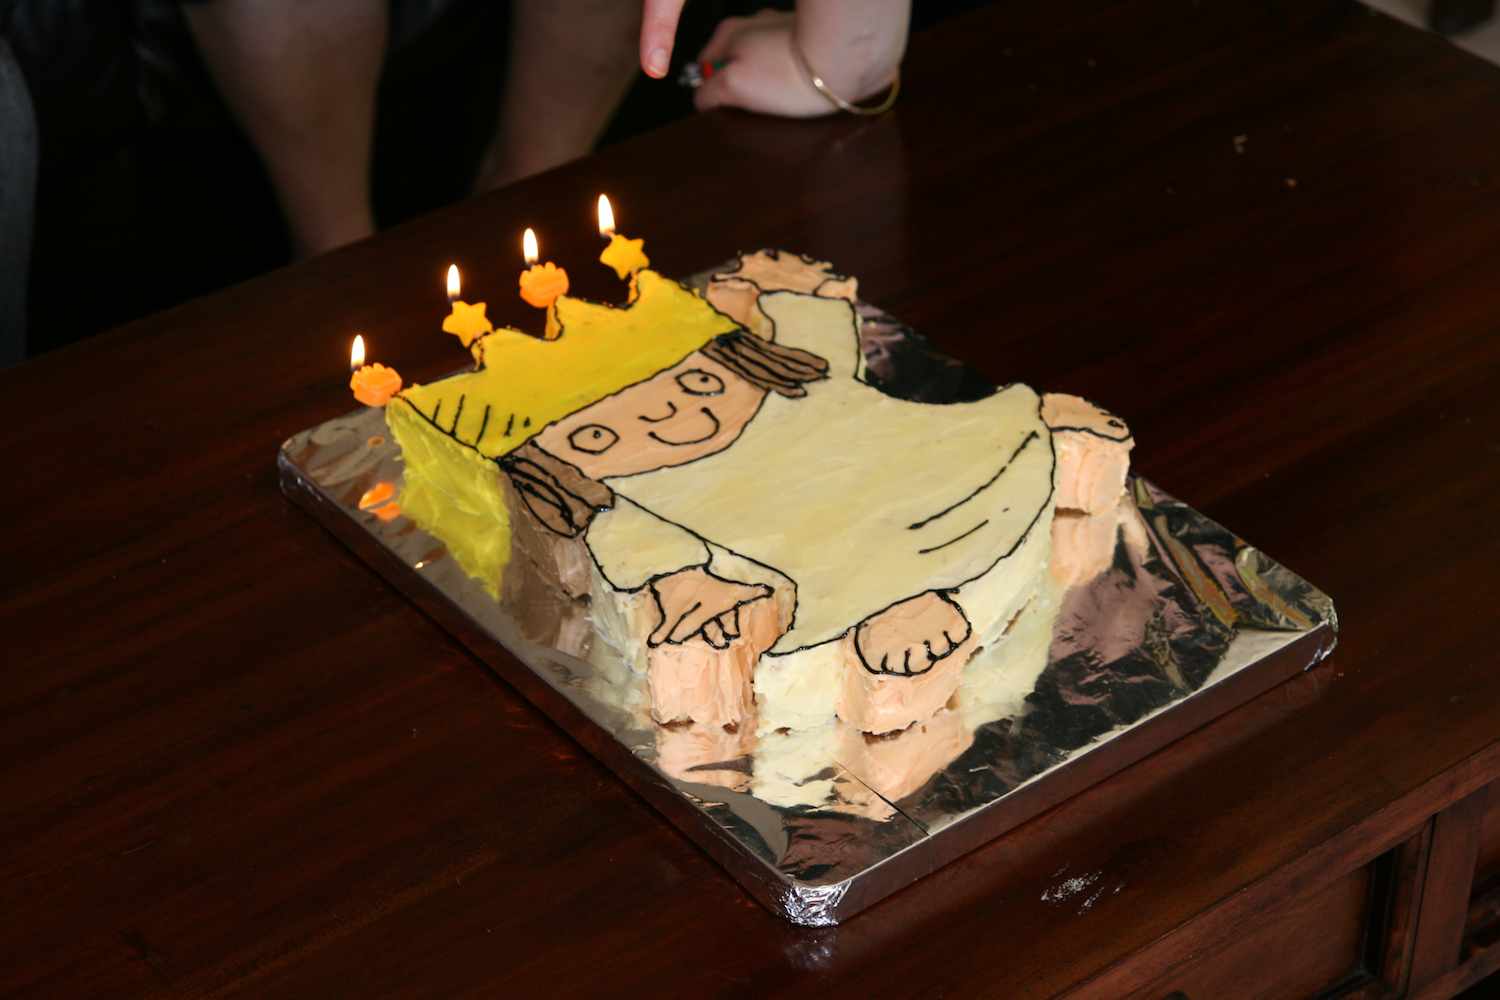
Amanda’s 2nd birthday was a replication of the Little Princess in the Tony Ross books. Amanda loved these books and this was a really special cake to make for her. I created the shape by photocopying and enlarging a picture of the Little Princess from one of the books. I then cut that out and used it as my template. I baked the cake in a large tin and then lay the template over top and cut. With this sort of cake, you really need to apply a crumb coat otherwise you end up with lots of crumbs in the icing. I made up a big batch of buttercream icing, separated it out and then tinted it to the appropriate colours. The black outline was done using a Wilton gel pen from the supermarket. That was the hardest part of the cake and if I ever did something like this again, I would use black tinted icing and pipe the outline using a Wilton #3 tip.
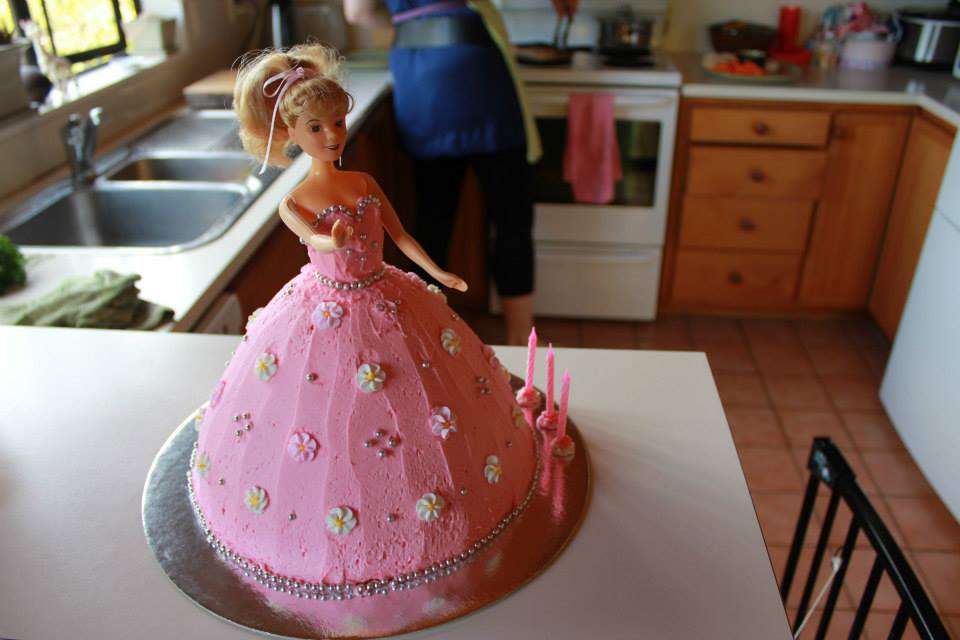
Amanda’s 3rd birthday was a princess party so I created a princess cake using the Wilton Dolly Varden tin. These tins are perfect for making a princess or Barbie cake. This is one of the easiest cakes to make especially if you use the tin. I covered the cake (skirt) in pink buttercream and then decorated with silver cachous pearls and store bought edible flowers.
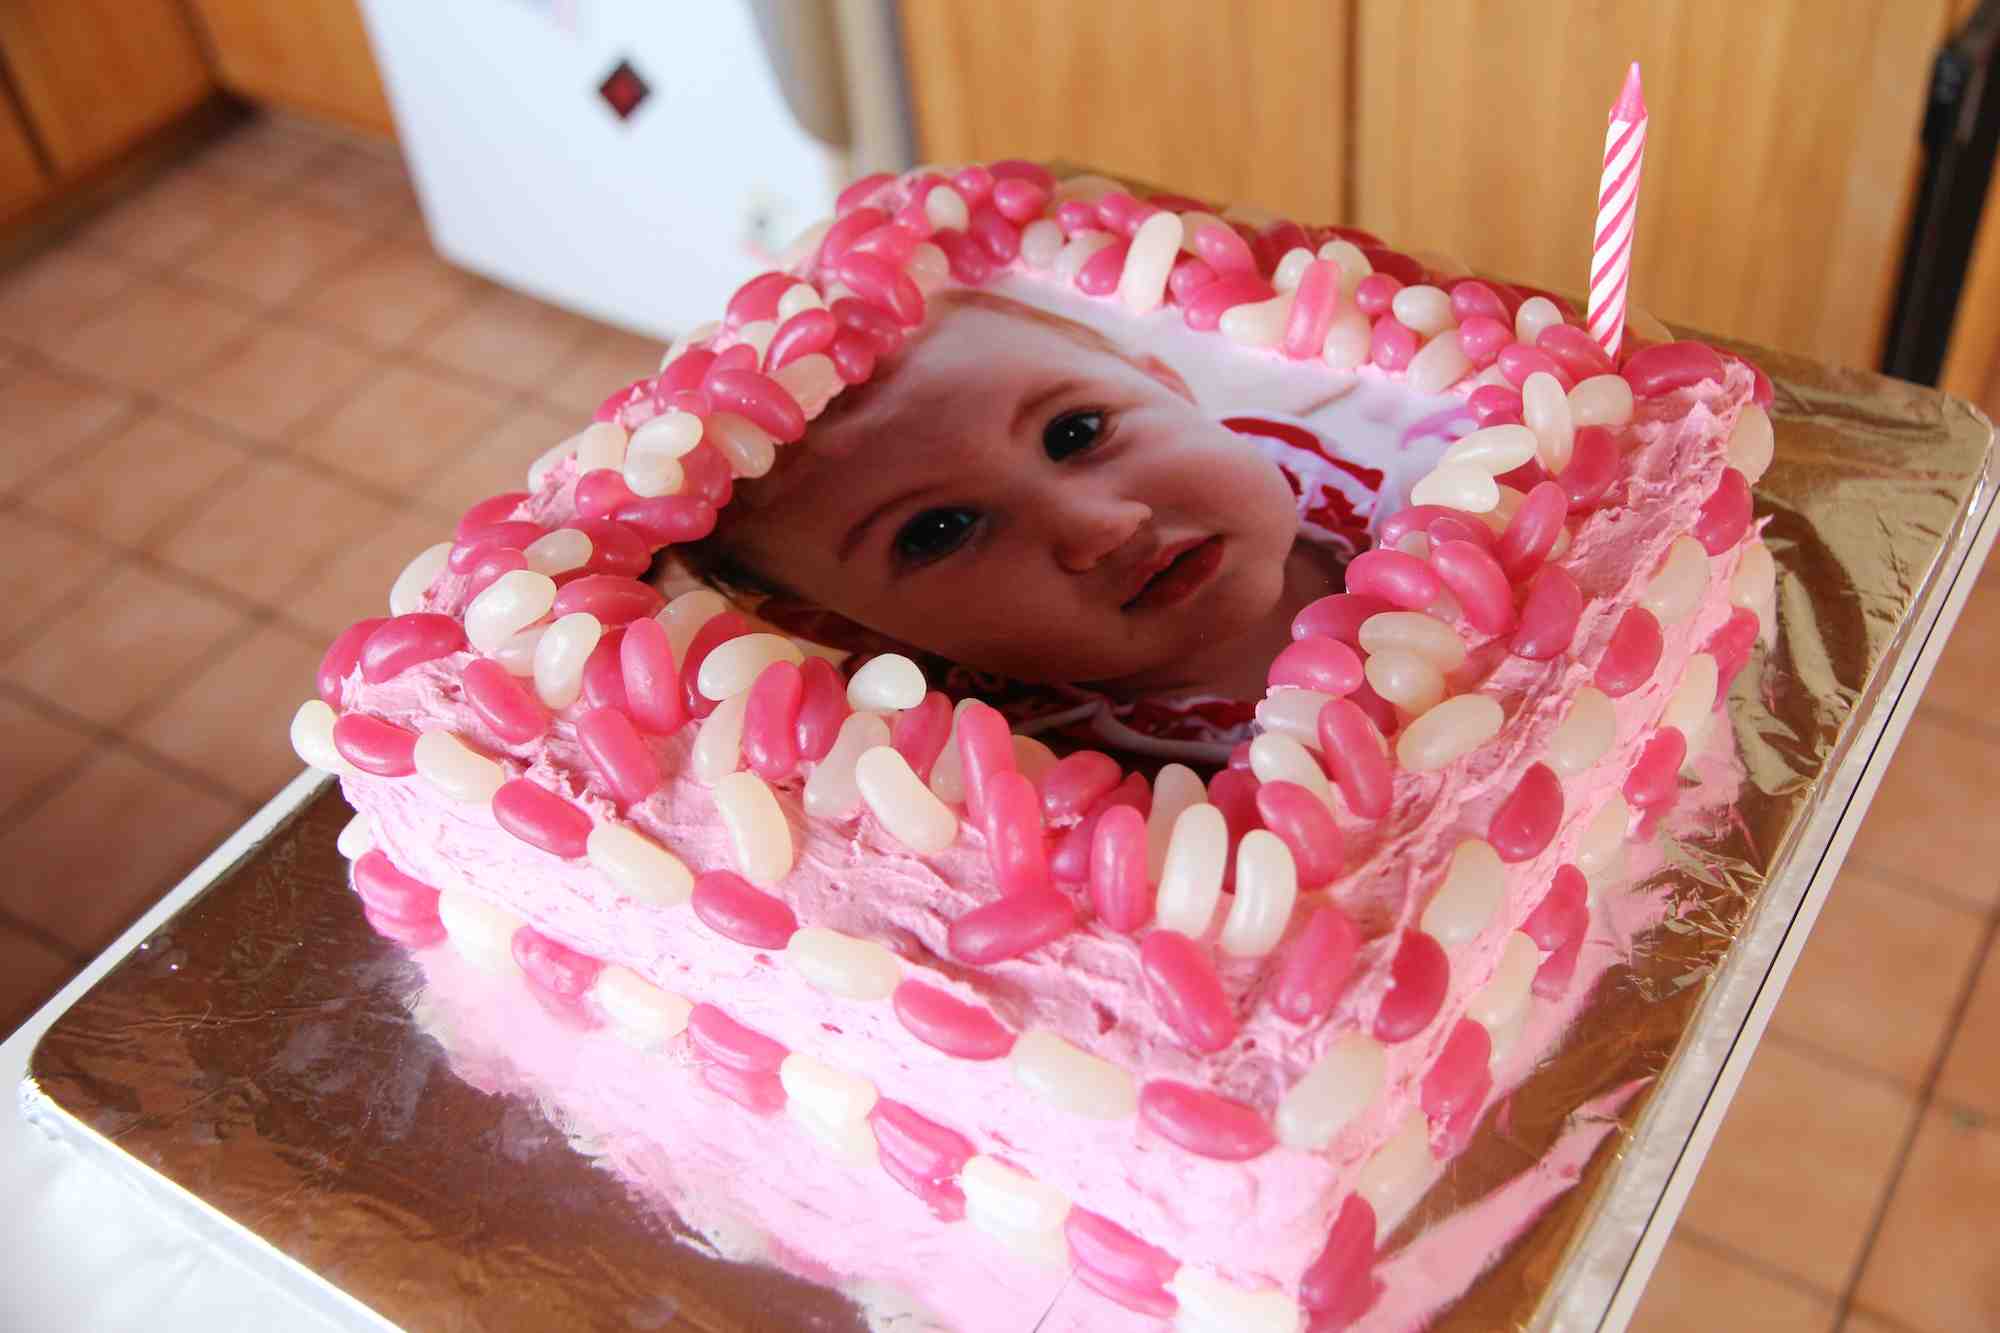
Laura’s 1st birthday was themed red, pink and white and her cake was decorated with lots of jelly beans in honour of her pet name, Bean. This was a really simple cake to do; I spent more time organizing the photo which was used in the center. I used all natural colour food dyes and jelly beans for this cake (The Remarkable Sweet Shop in Queenstown were so lovely and supplied me with only the colours I wanted). I’m really pleased to have a great range of natural coloured and flavoured cake decorations in our shop now as it is my preference to use natural colours and flavours where I can.
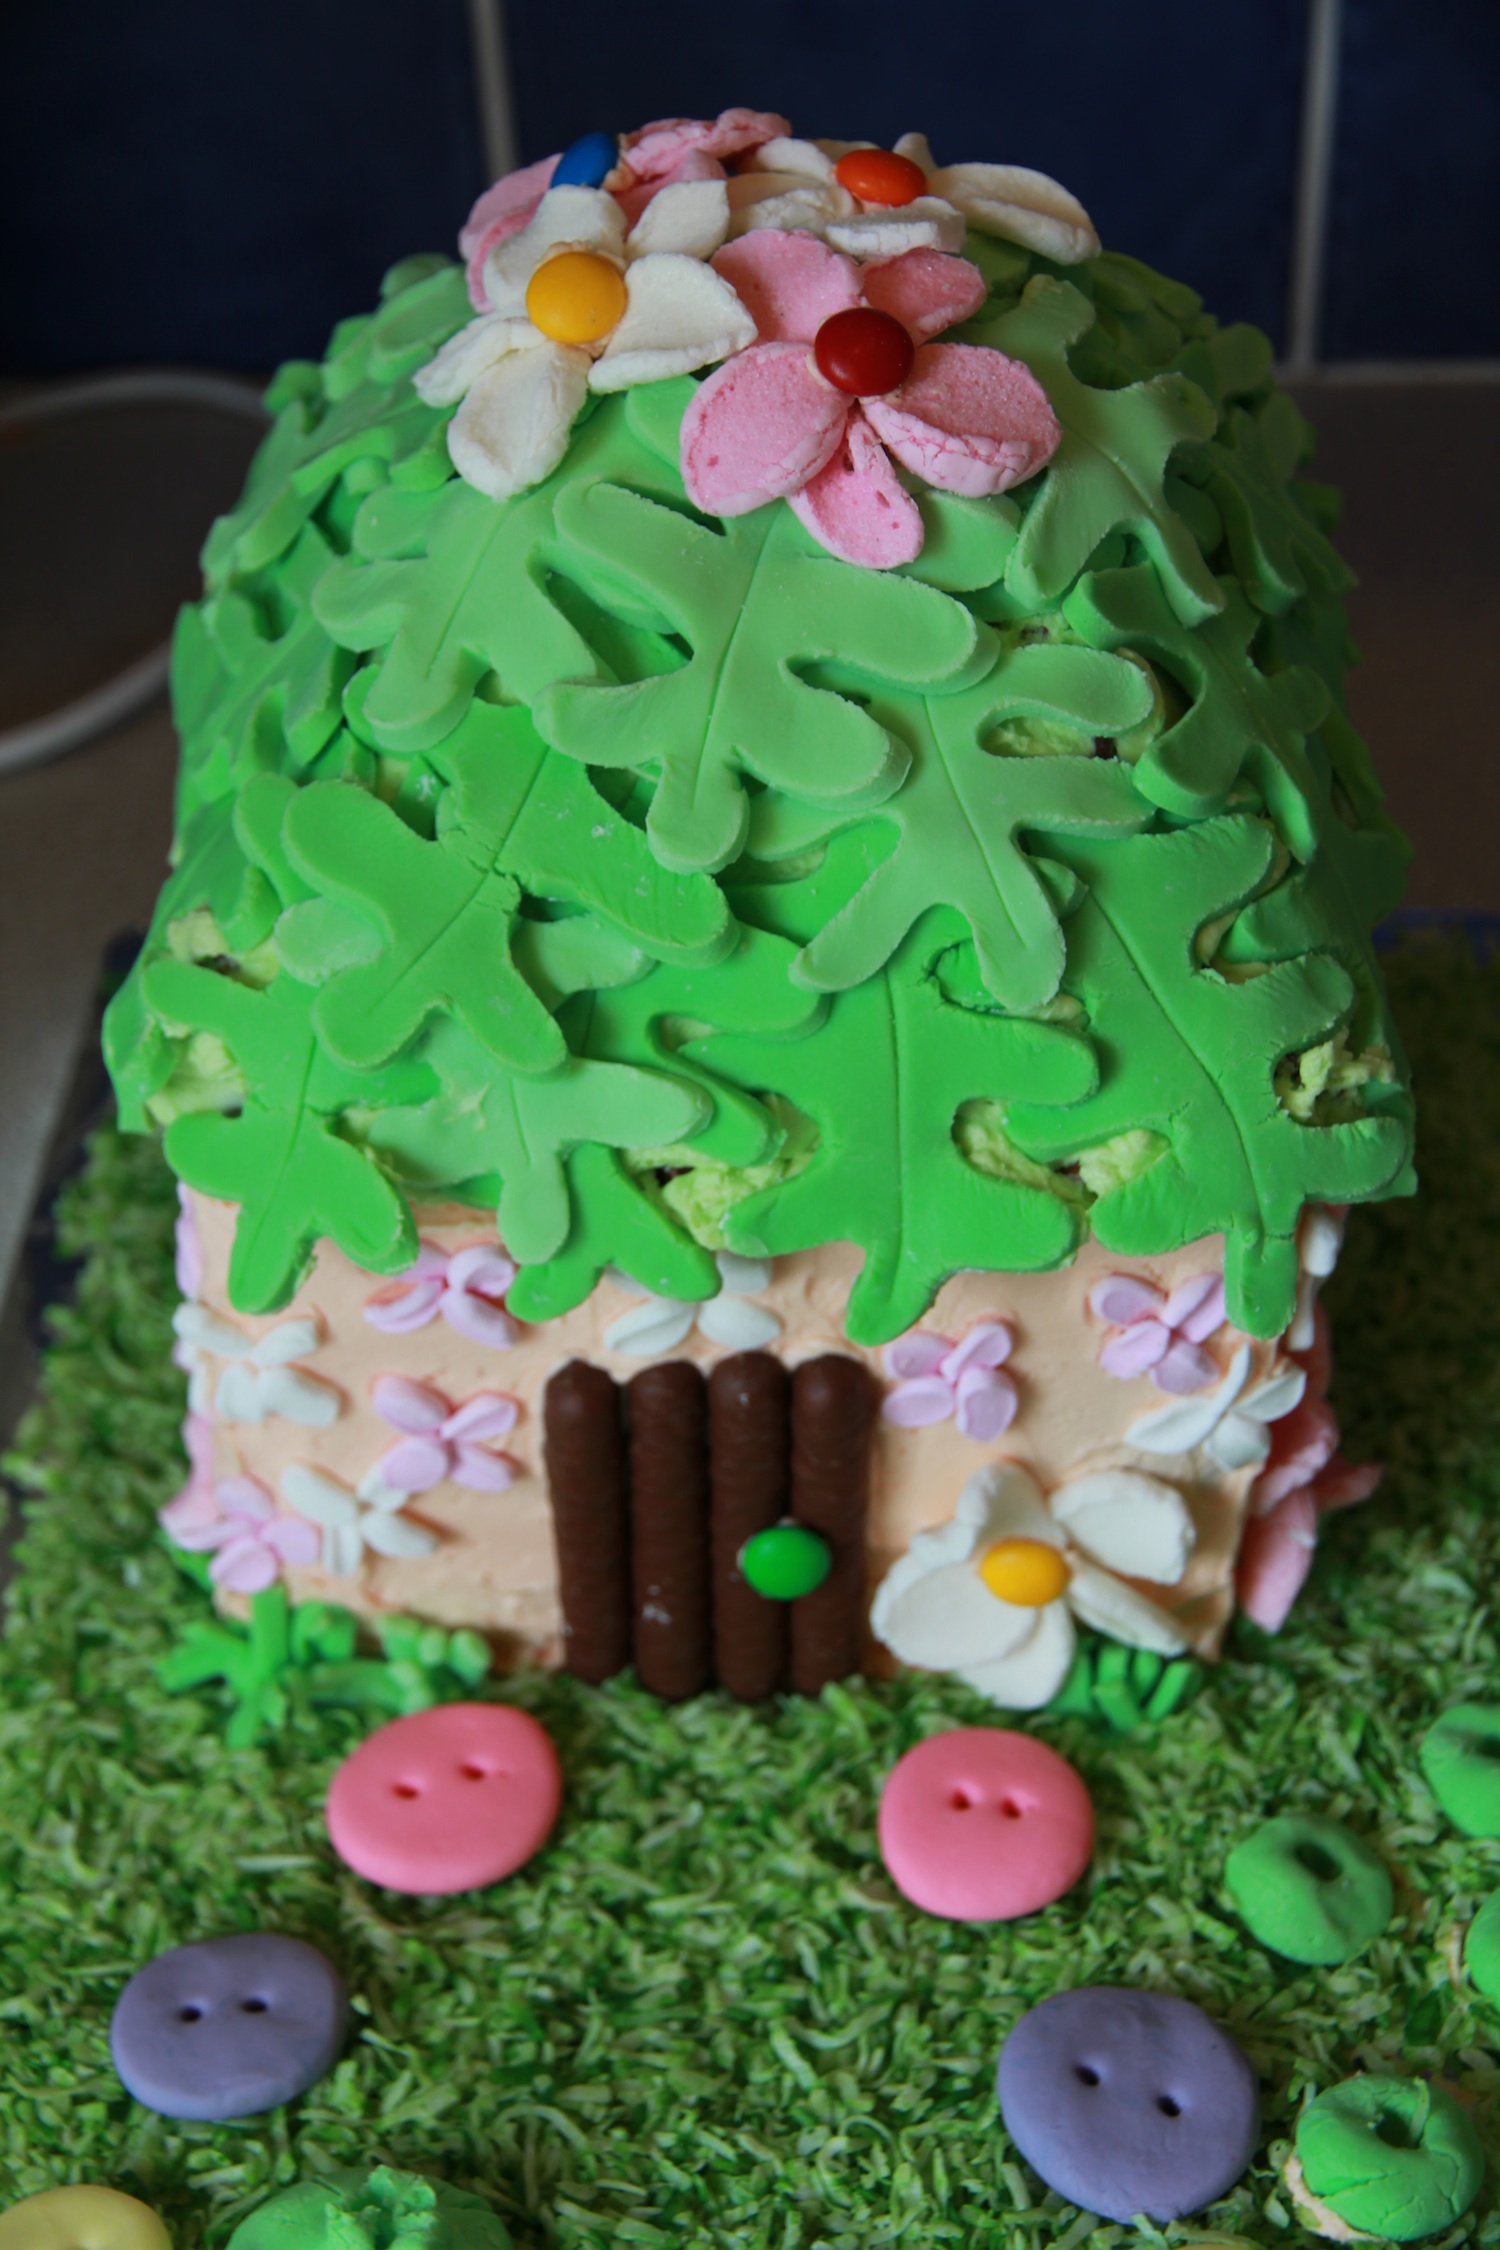
Amanda’s 4th birthday was Tinker Bell themed. She really liked the movie Tinker Bell and the Great Fairy Rescue so I decided to make a fairy house to resemble what Lizzy made in the movie. This cake took a while and I just let it evolve into something that resembled the house in the movie. The base of the house was made by layering and cutting a cake into a square shape. The roof was done by mixing melted chocolate and rice bubbles together and shaping that into a roof. Once set, I covered the roof with green buttercream icing and then with green leaves that I hand cut from fondant. I used chocolate fingers to create the doors and windows, marshmallows to create flowers and coconut coloured with green dye for the grass. I placed a Tinker Bell figurine at the top of the footpath.
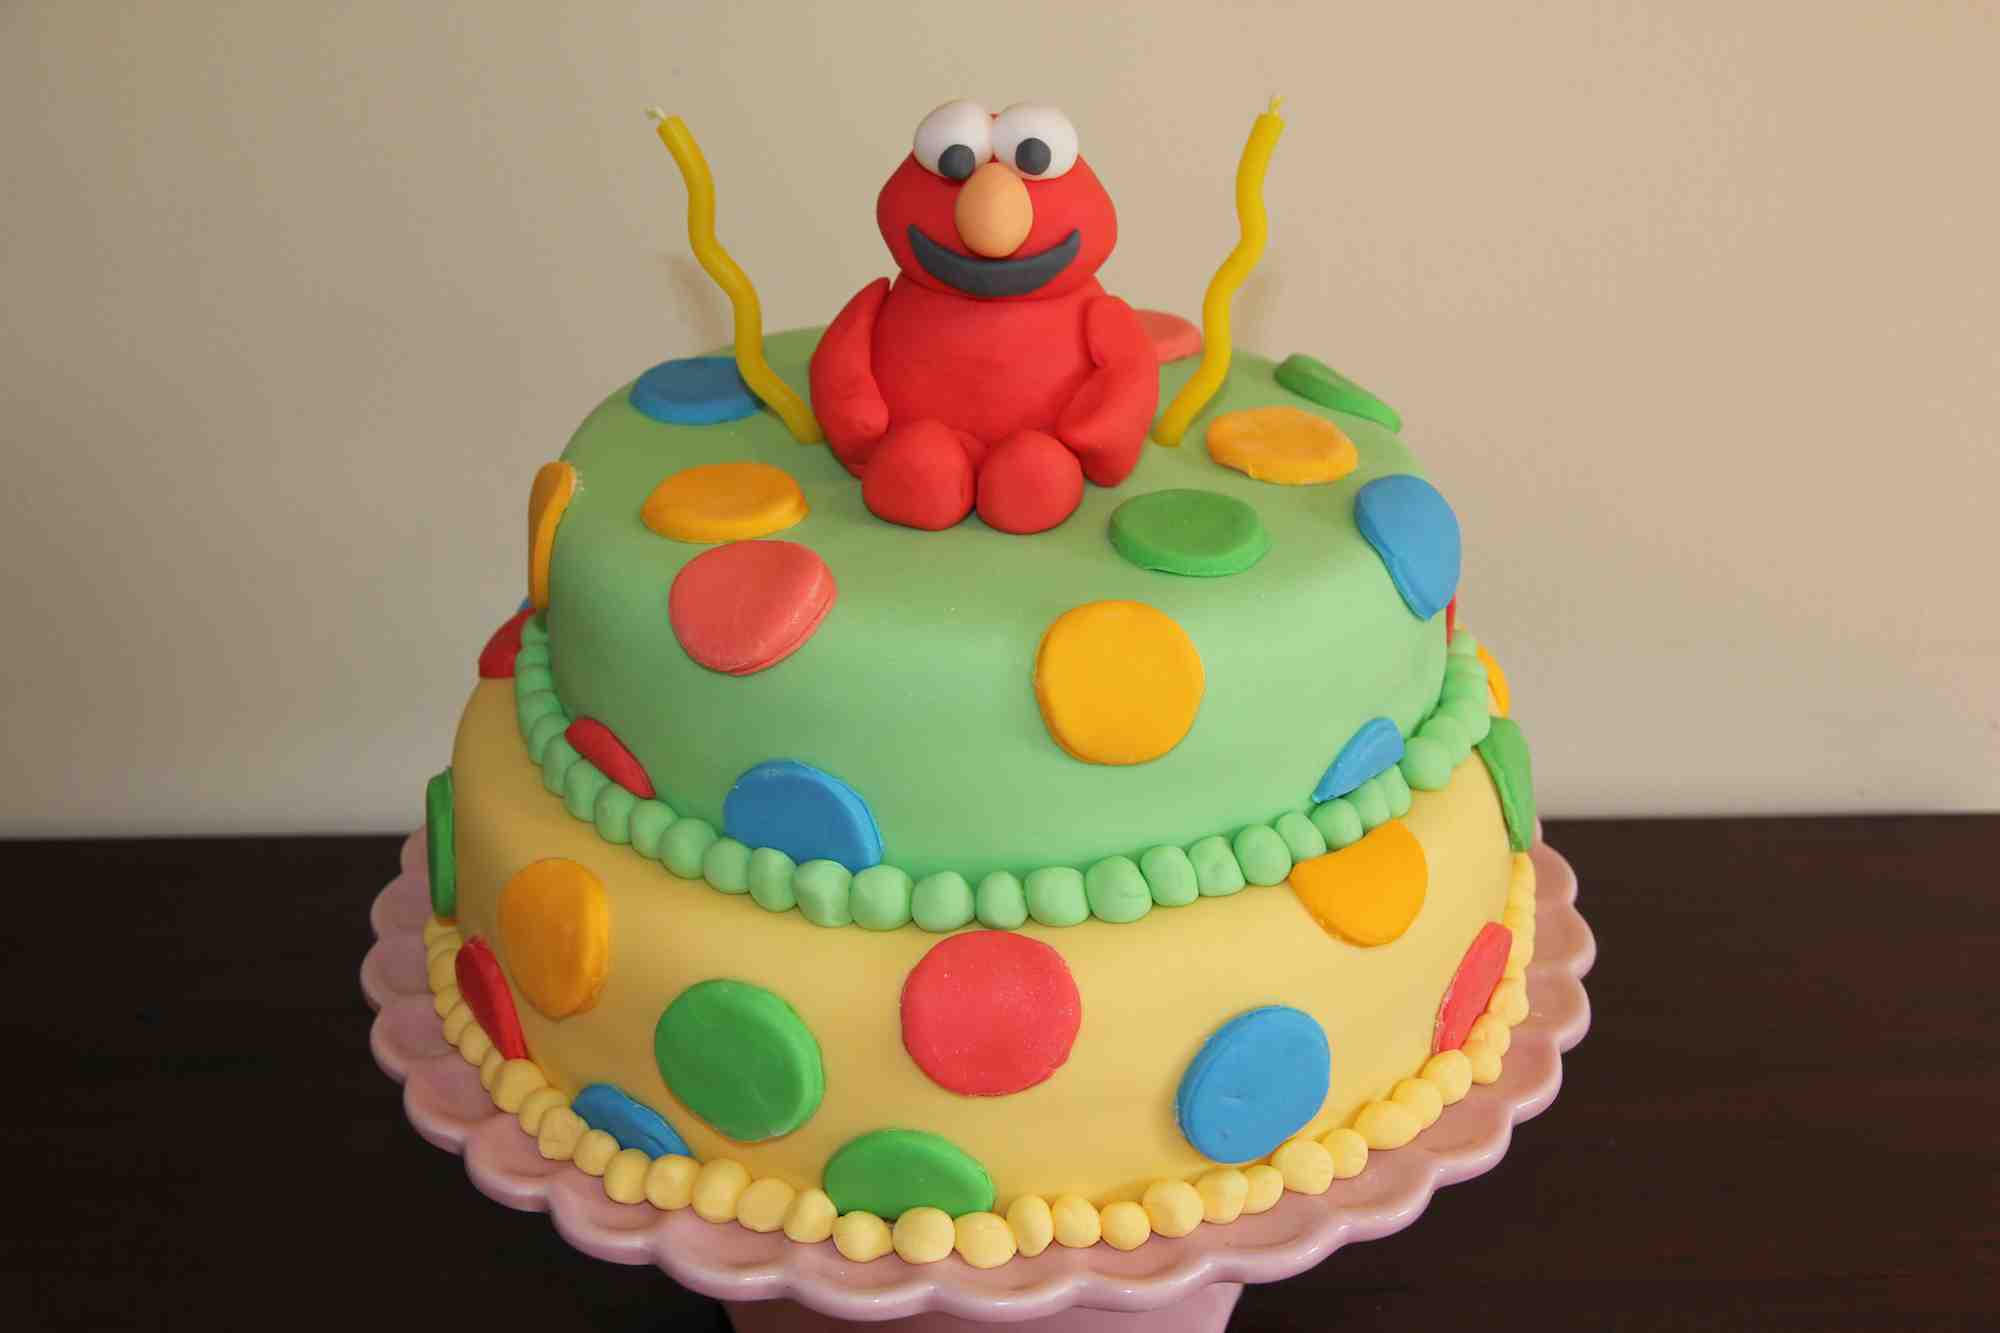
Laura’s 2nd birthday was Elmo themed as she was a bit of an Elmo fan at the time. The only Elmo themed item at the party was the cake, everything else was themed using Sesame Street colours (red, blue, green and yellow). This was my first cake that was layered which I placed on a pink pedestal; I was really pleased with the outcome. It did take ages though and I always find fondant stressful and this was no exception. My Mum helped roll up all of the little balls for around the layers.
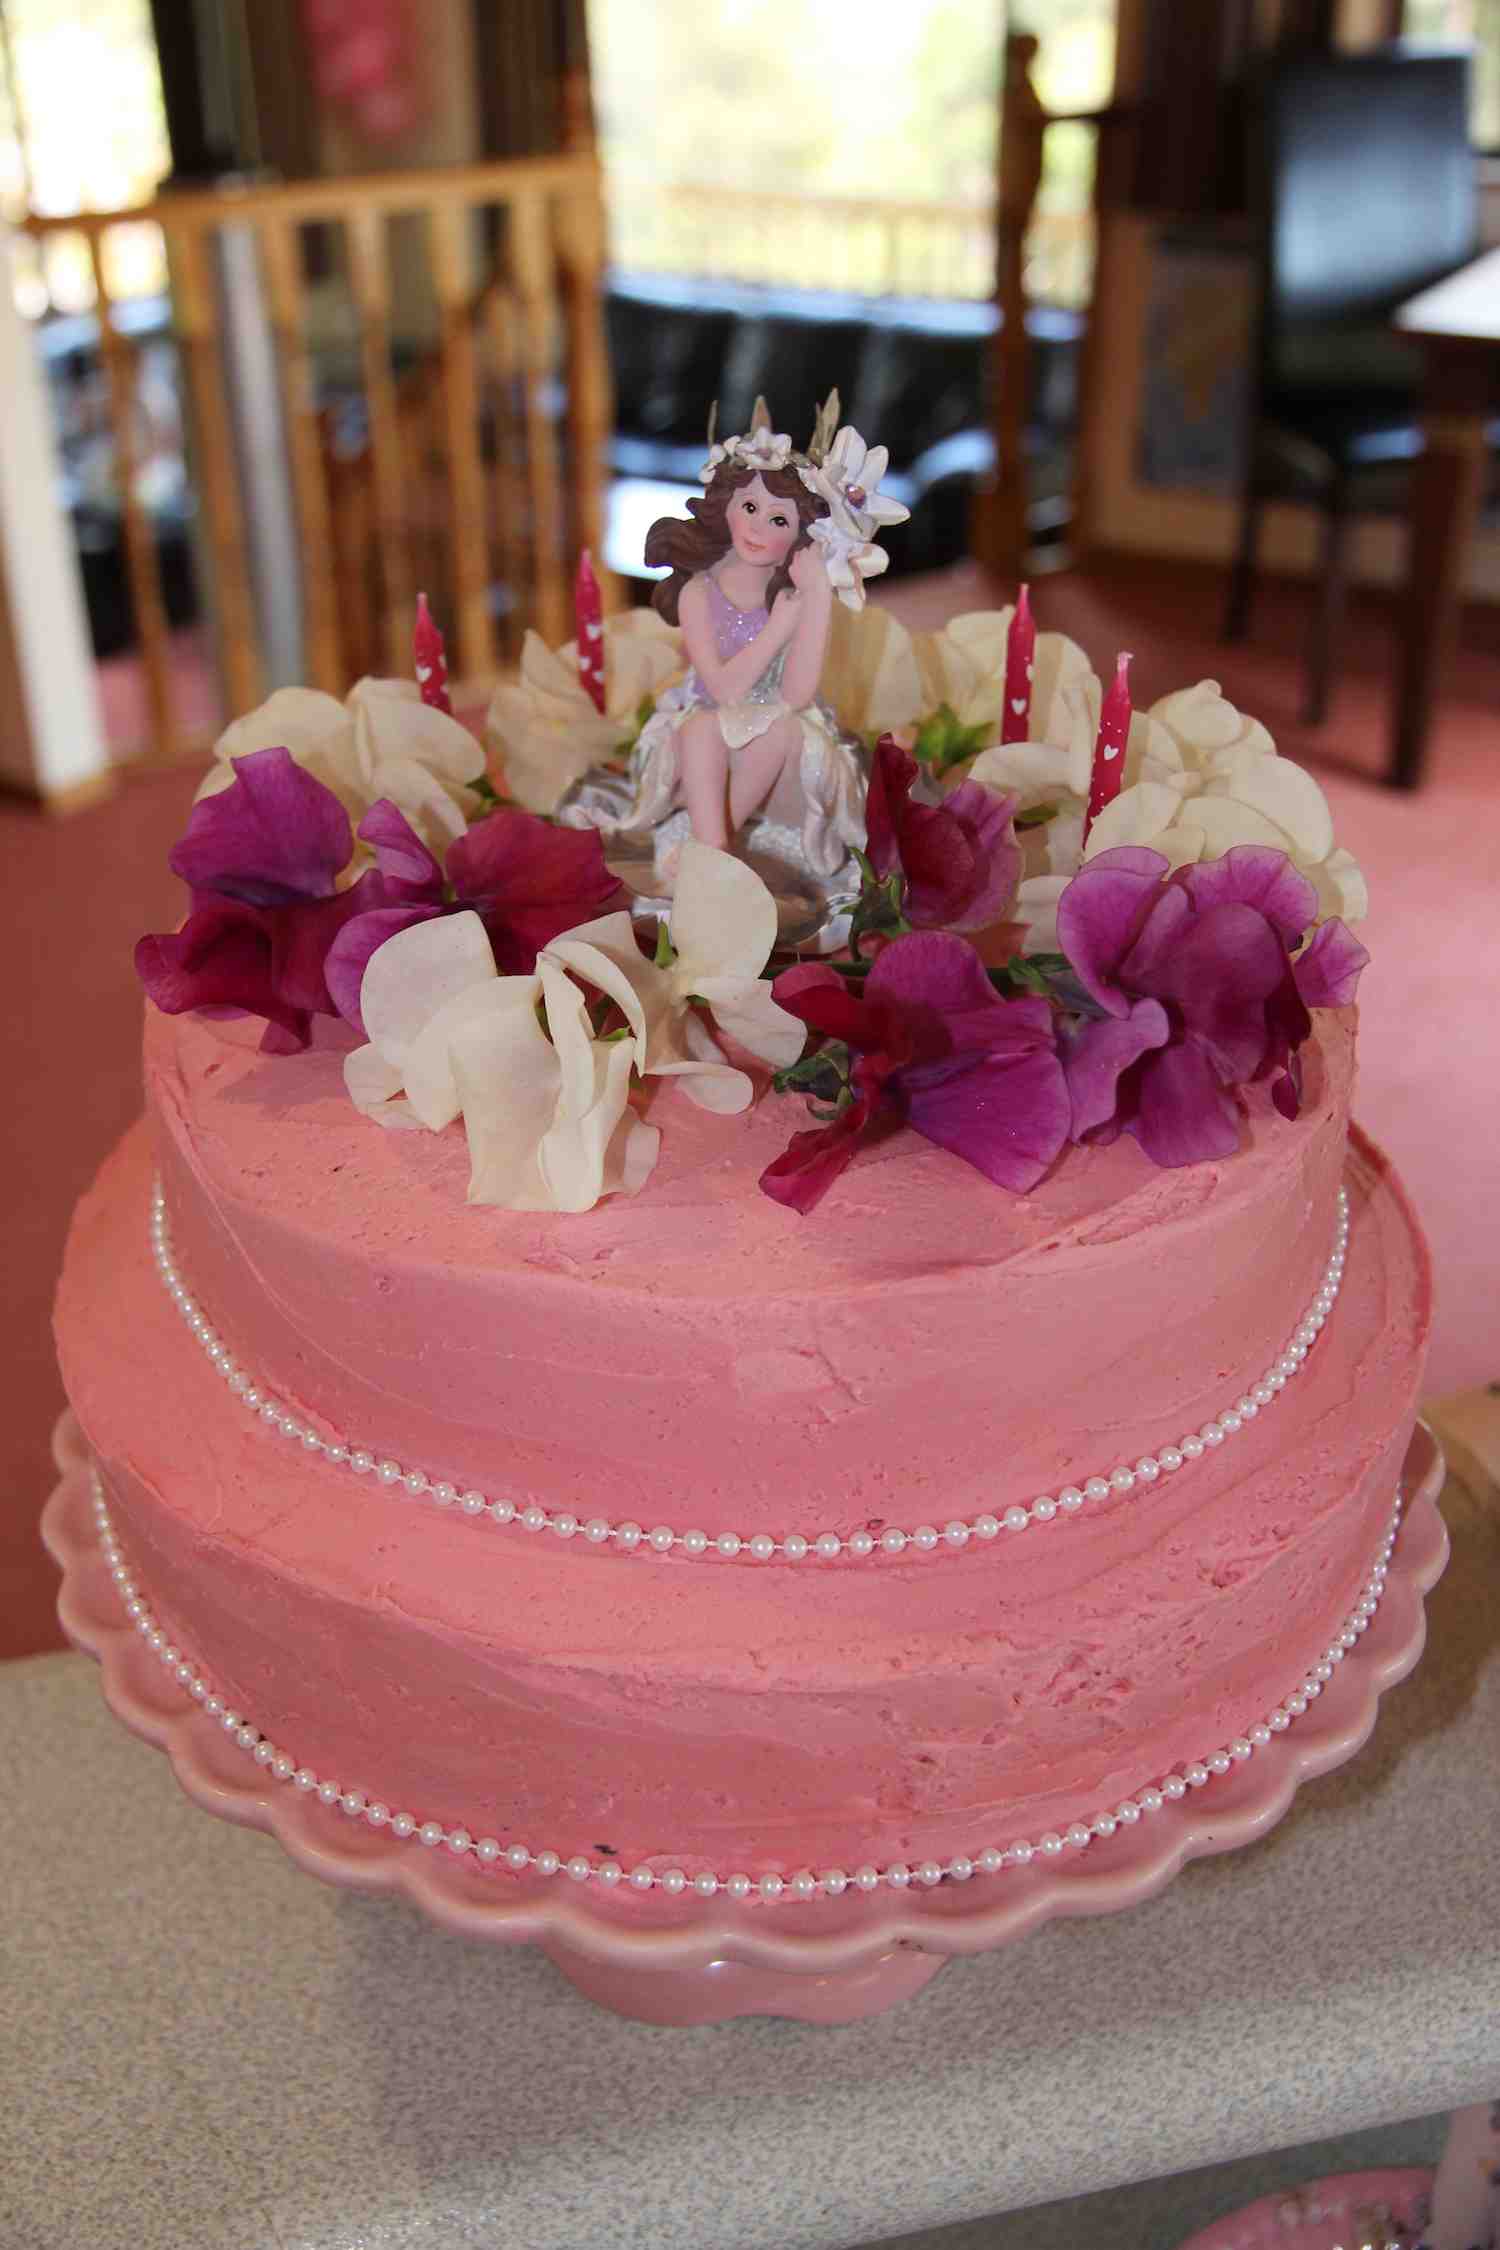
Amanda’s 5th birthday party was a Flower Fairy party. I made a simple layered cake, decorated with pink buttercream icing, a string of pearls and some sweet pea flowers from the garden. In the center of the cake was a fairy figurine that Amanda had been given by her Nana around the time she was born ~ it was really nice to use the figurine on the cake for such a significant milestone.
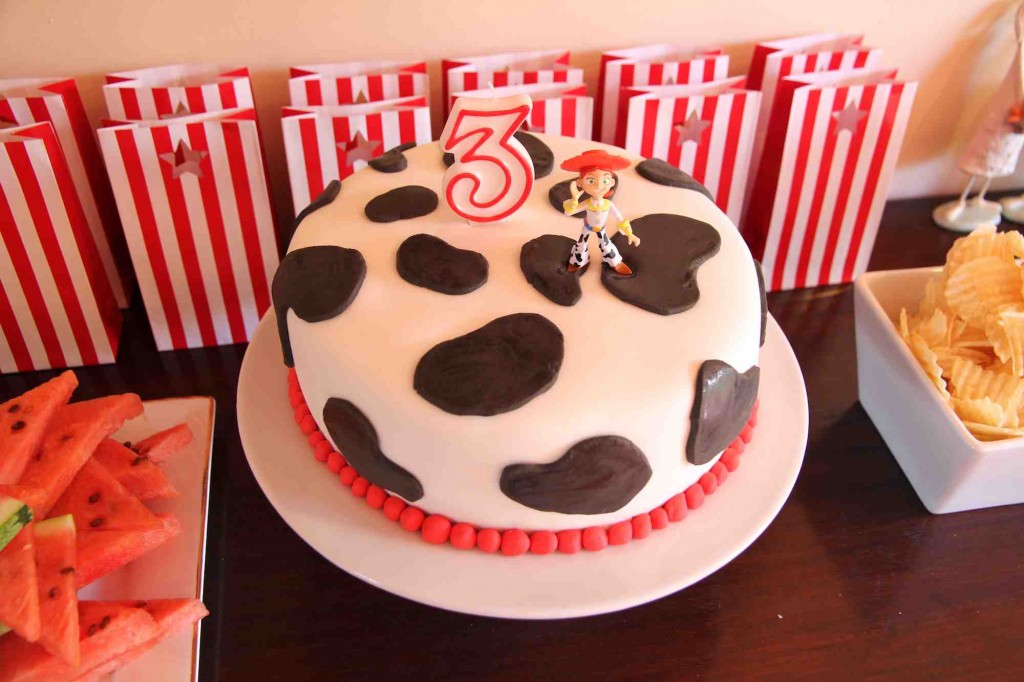
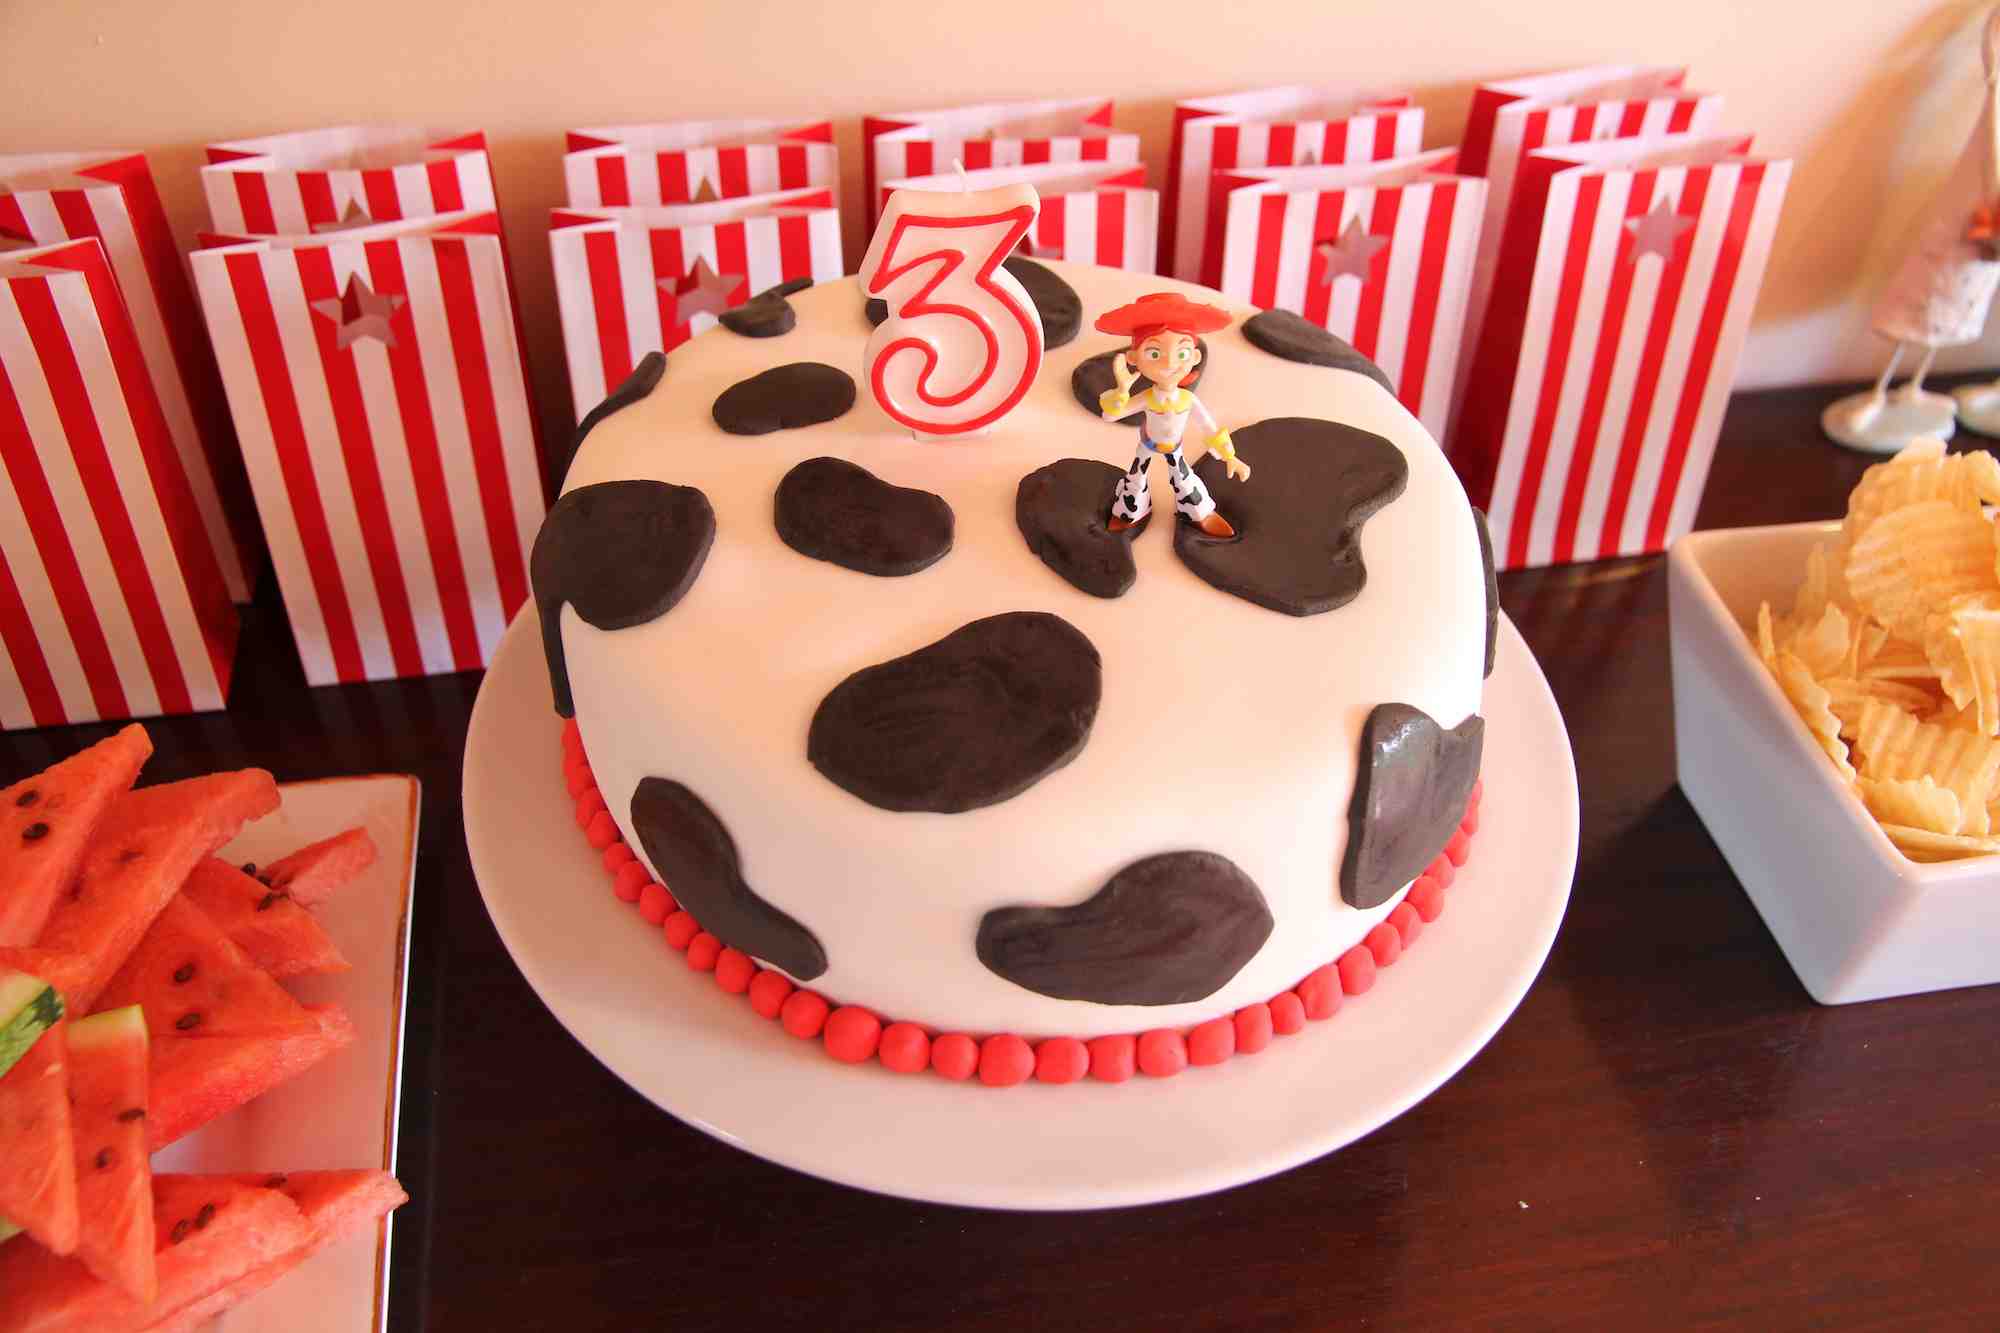
For Laura’s 3rd birthday, she really wanted a hoe down! Now, this cake was a bit stressful. Firstly, I dyed white fondant to black (never again!) and it took forever. I achieved this by adding in cocoa powder along with black food coloring gel and it really did take a long time and I was quite sick of kneading the fondant by the end of it. If I had bought pre-coloured black fondant then this would not have been so stressful. This cake was placed on one of our white cake stands; cake stands always make birthday cakes look better! The cake worked well with the red and white striped party bags you see at the back.
For Amanda’s 6th birthday, we decided to go with a Vintage Carnival Party theme. I wanted to use a cake bunting for the top of the cake so I decided to go with a basic layered cake on a pedestal. I made up a big batch of white buttercream icing, applied a crumb coat and then went to action creating roses using the Wilton 1M tip. The was my very first time doing this sort of piping and I’m pretty proud of the end result. This was so easy and the effect was stunning! The key is to use the right tools – you really need the 1M tip to create these lovely roses and you can team that up with either a reusable decorating bag or a disposable decorating bag. I also sprinkled some red food glitter and pink food glitter over the top to add a bit of sparkle. I think the cake bunting and pink spot candles worked well with this style of decorating.
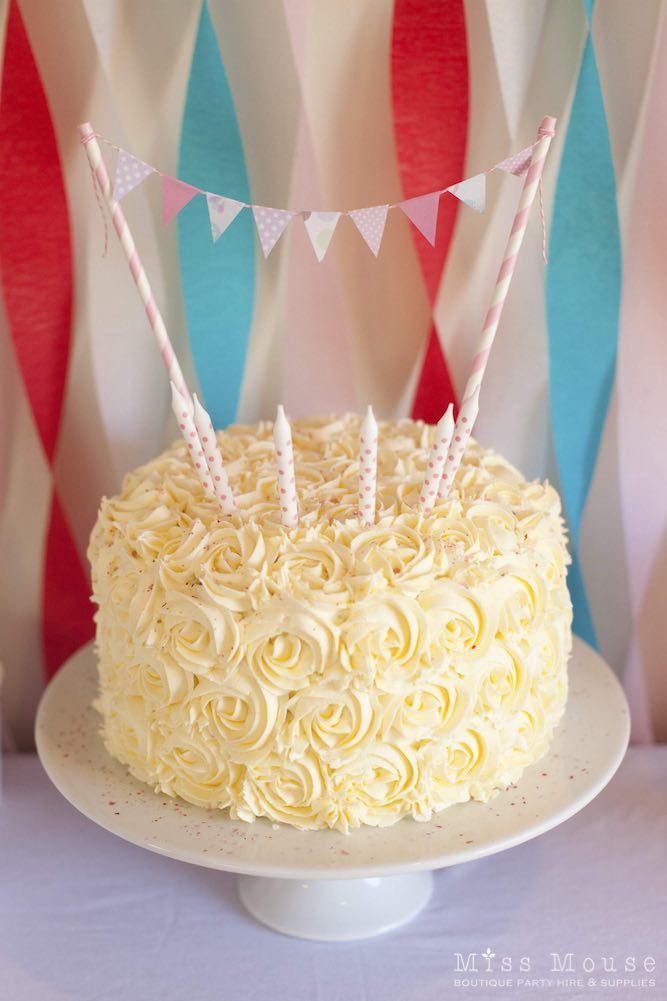 (Photography: Keri-Anne Dilworth at Dilworth Photography)
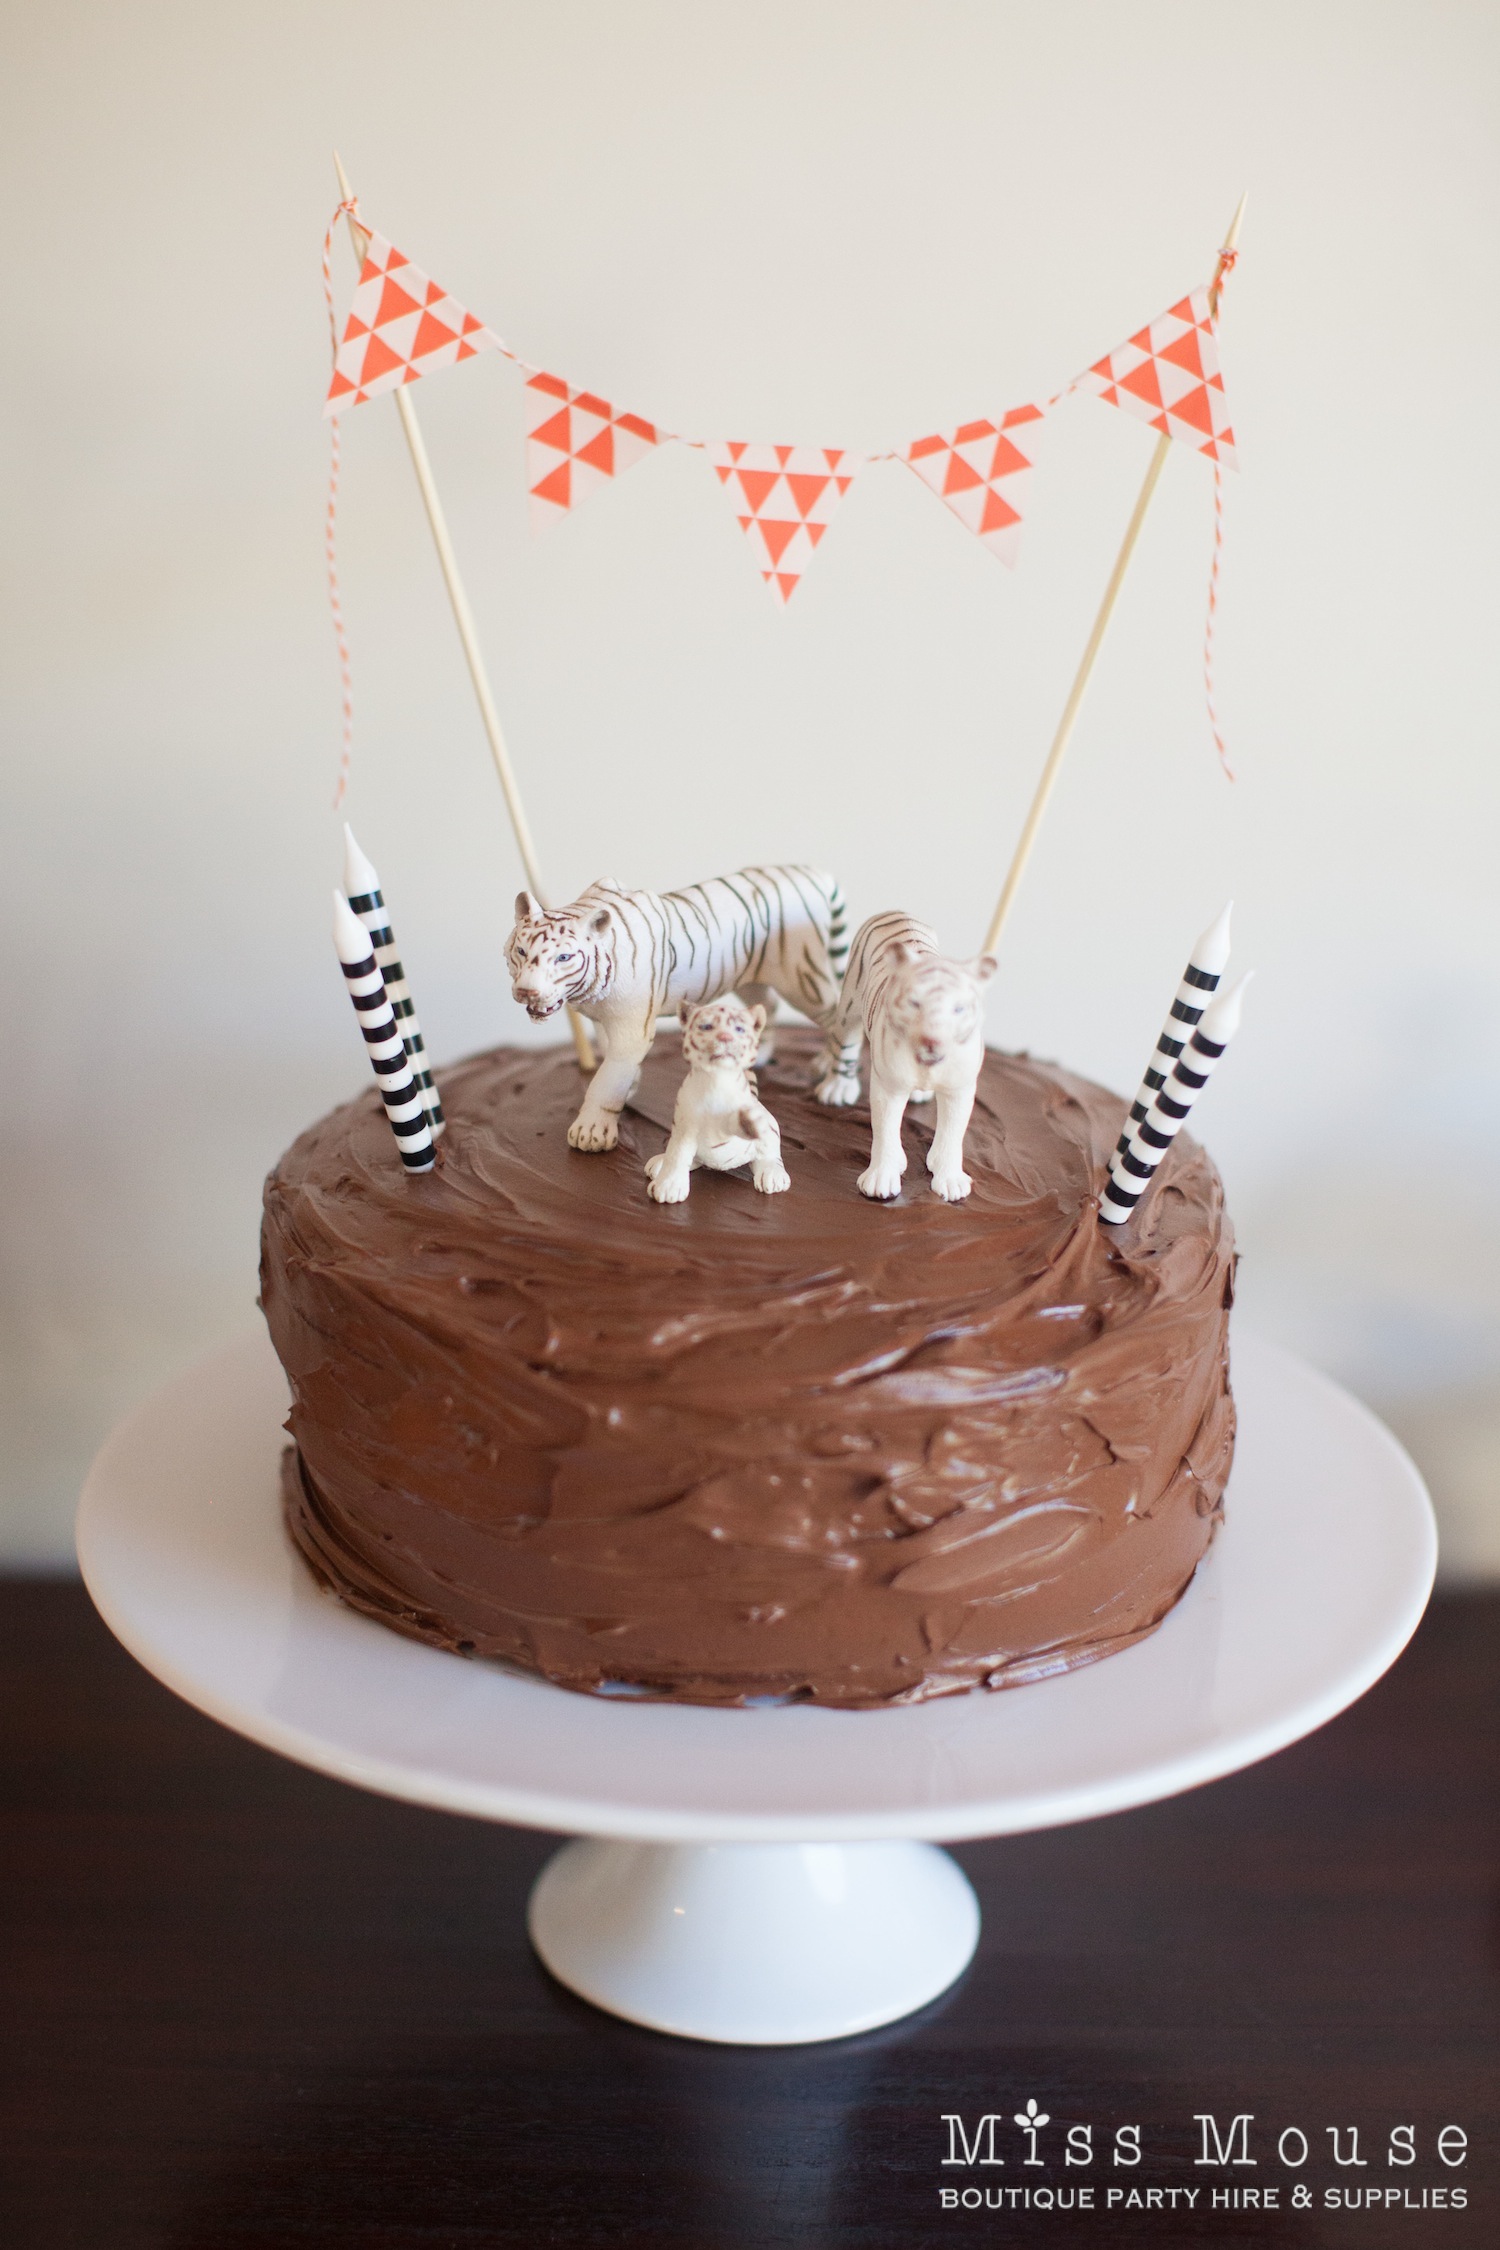
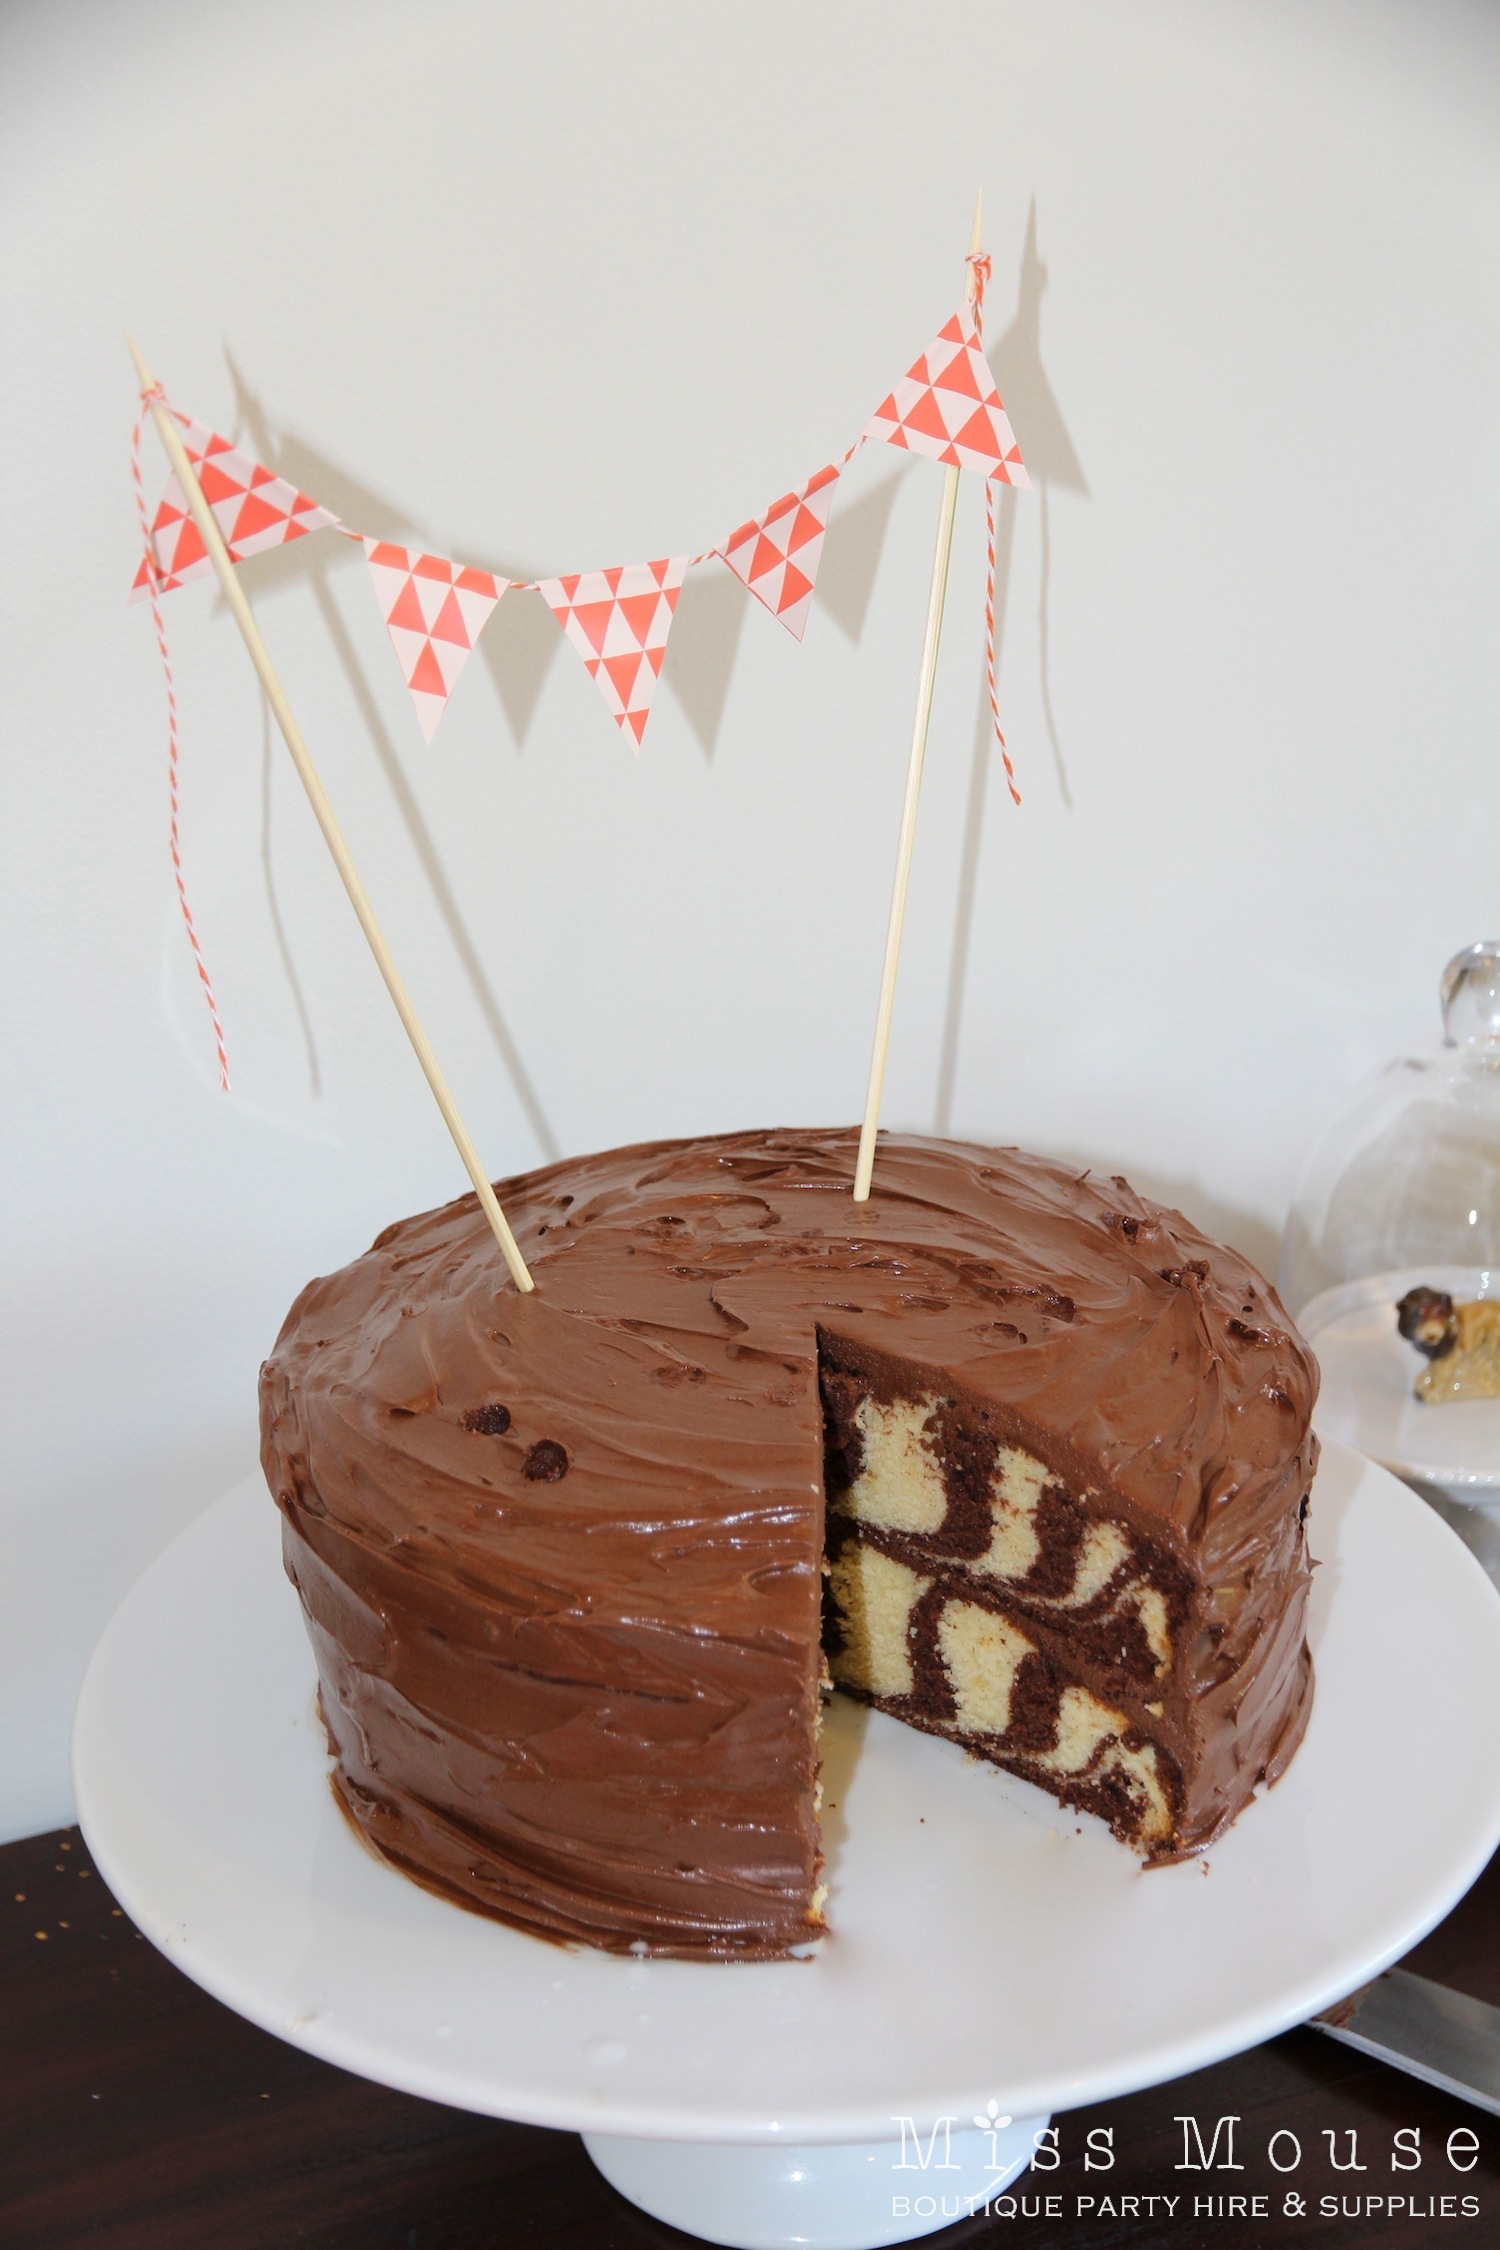
Laura is not one for princesses and fairies so her 4th birthday cake celebrated one of her most favourite animals, the Tiger! Now this was a really fun cake to do and you can find some links on the blog post A Party for a Tiger. I went for a very rustic look with the icing (it was early morning!) and placed a cake bunting made from one of our premium quality gift wraps on top and teamed the orange paper up with the black stripe candles for a tigery effect.
(Photography: Keri-Anne Dilworth at Dilworth Photography)
So, those are my cakes to date. I am definitely moving towards more simple options (which means no fondant for me) and learning to create some neat effects with icing by using various decorating tips and techniques.
What is your birthday cake making and decorating style?

Fabulous cakes.
Oooh, this makes me want to bake a cake… And have a party 🙂
Thanks ladies 🙂