Baby Showers, Baking, Children's Birthday Parties
Kids Birthday Cakes : The Layer Cake
I love layer cakes and have done them a few times before for kids birthday cakes. I would normally use a 22 cm cake tins from the Wilton Checkerboard Cake Pan Set for this but we usually always end up with way too much cake. So, I was pretty interested in the much smaller sized cake pans (15 cm) in this Wilton 5 Layer Cake Pan Set when they arrived in this week and wanted to see how it would all look once made up. Here is what I did…
Firstly, no matter what style cake you are making, you need a great recipe. I decided to use the Vanilla and Raspberry Jam Layer Cake from Made From Scratch. I’m always a little apprehensive using a new recipe but this one was really simple to make and tasted great! It was also the perfect amount of batter to fill the 5 cake pans in the Wilton set. I just followed the instructions with the recipe but divided the batter across the 5 cake pans and we had a little left over to fill up a couple of baking cases we had in the cupboard too (the cake fresh out of the oven is AMAZING!). I also reduced the cooking time as these are small and thin cakes; they don’t need long to cook so keep an eye on them and whip them out when they spring back when lightly touched or a skewer comes out clean.
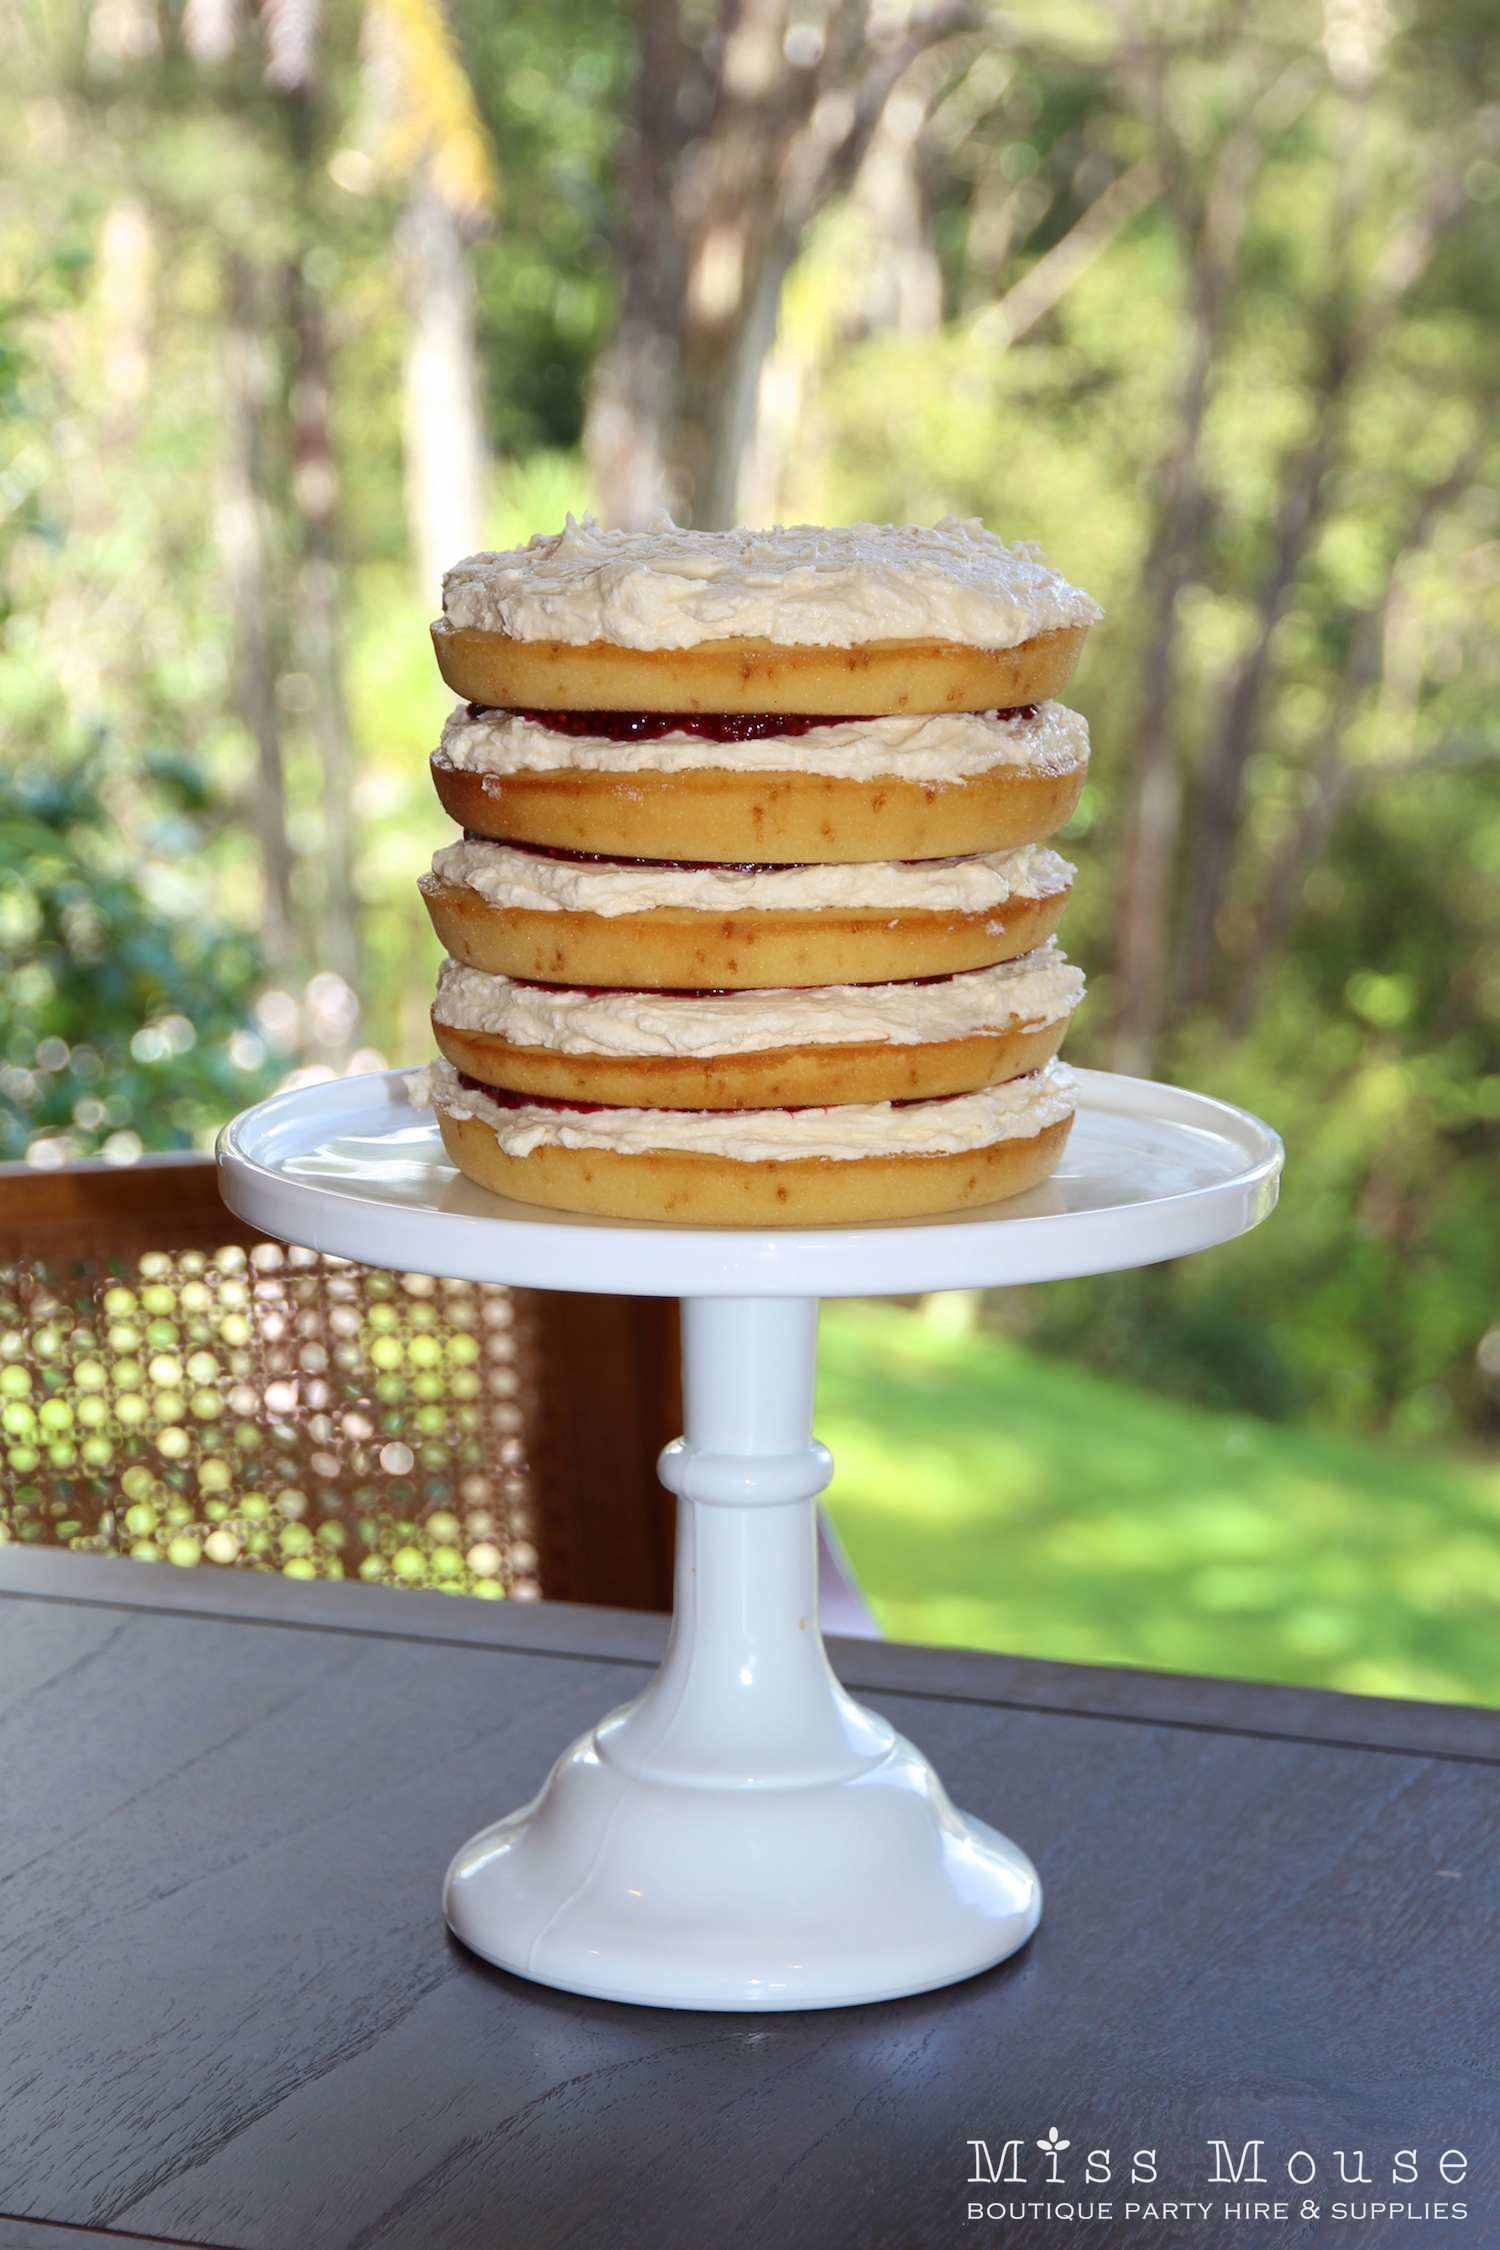
Once the cakes were baked and cooled, I whipped up the vanilla buttercream icing (same recipe as the link above). I made approx. 1.3x the vanilla buttercream recipe since I needed a bit more for all the layers. I must say, I am loving my KitchenAid Artisan Stand Mixer for whipping up icing; it does such a great job and I’m totally hands free. At this stage, I flattened the cakes a little bit by cutting the tops off and then assembled using the instructions with the recipe. I didn’t place buttercream down the sides of the cake as I built up the layers because I wanted to see how it looked without them. And here is how it looked…
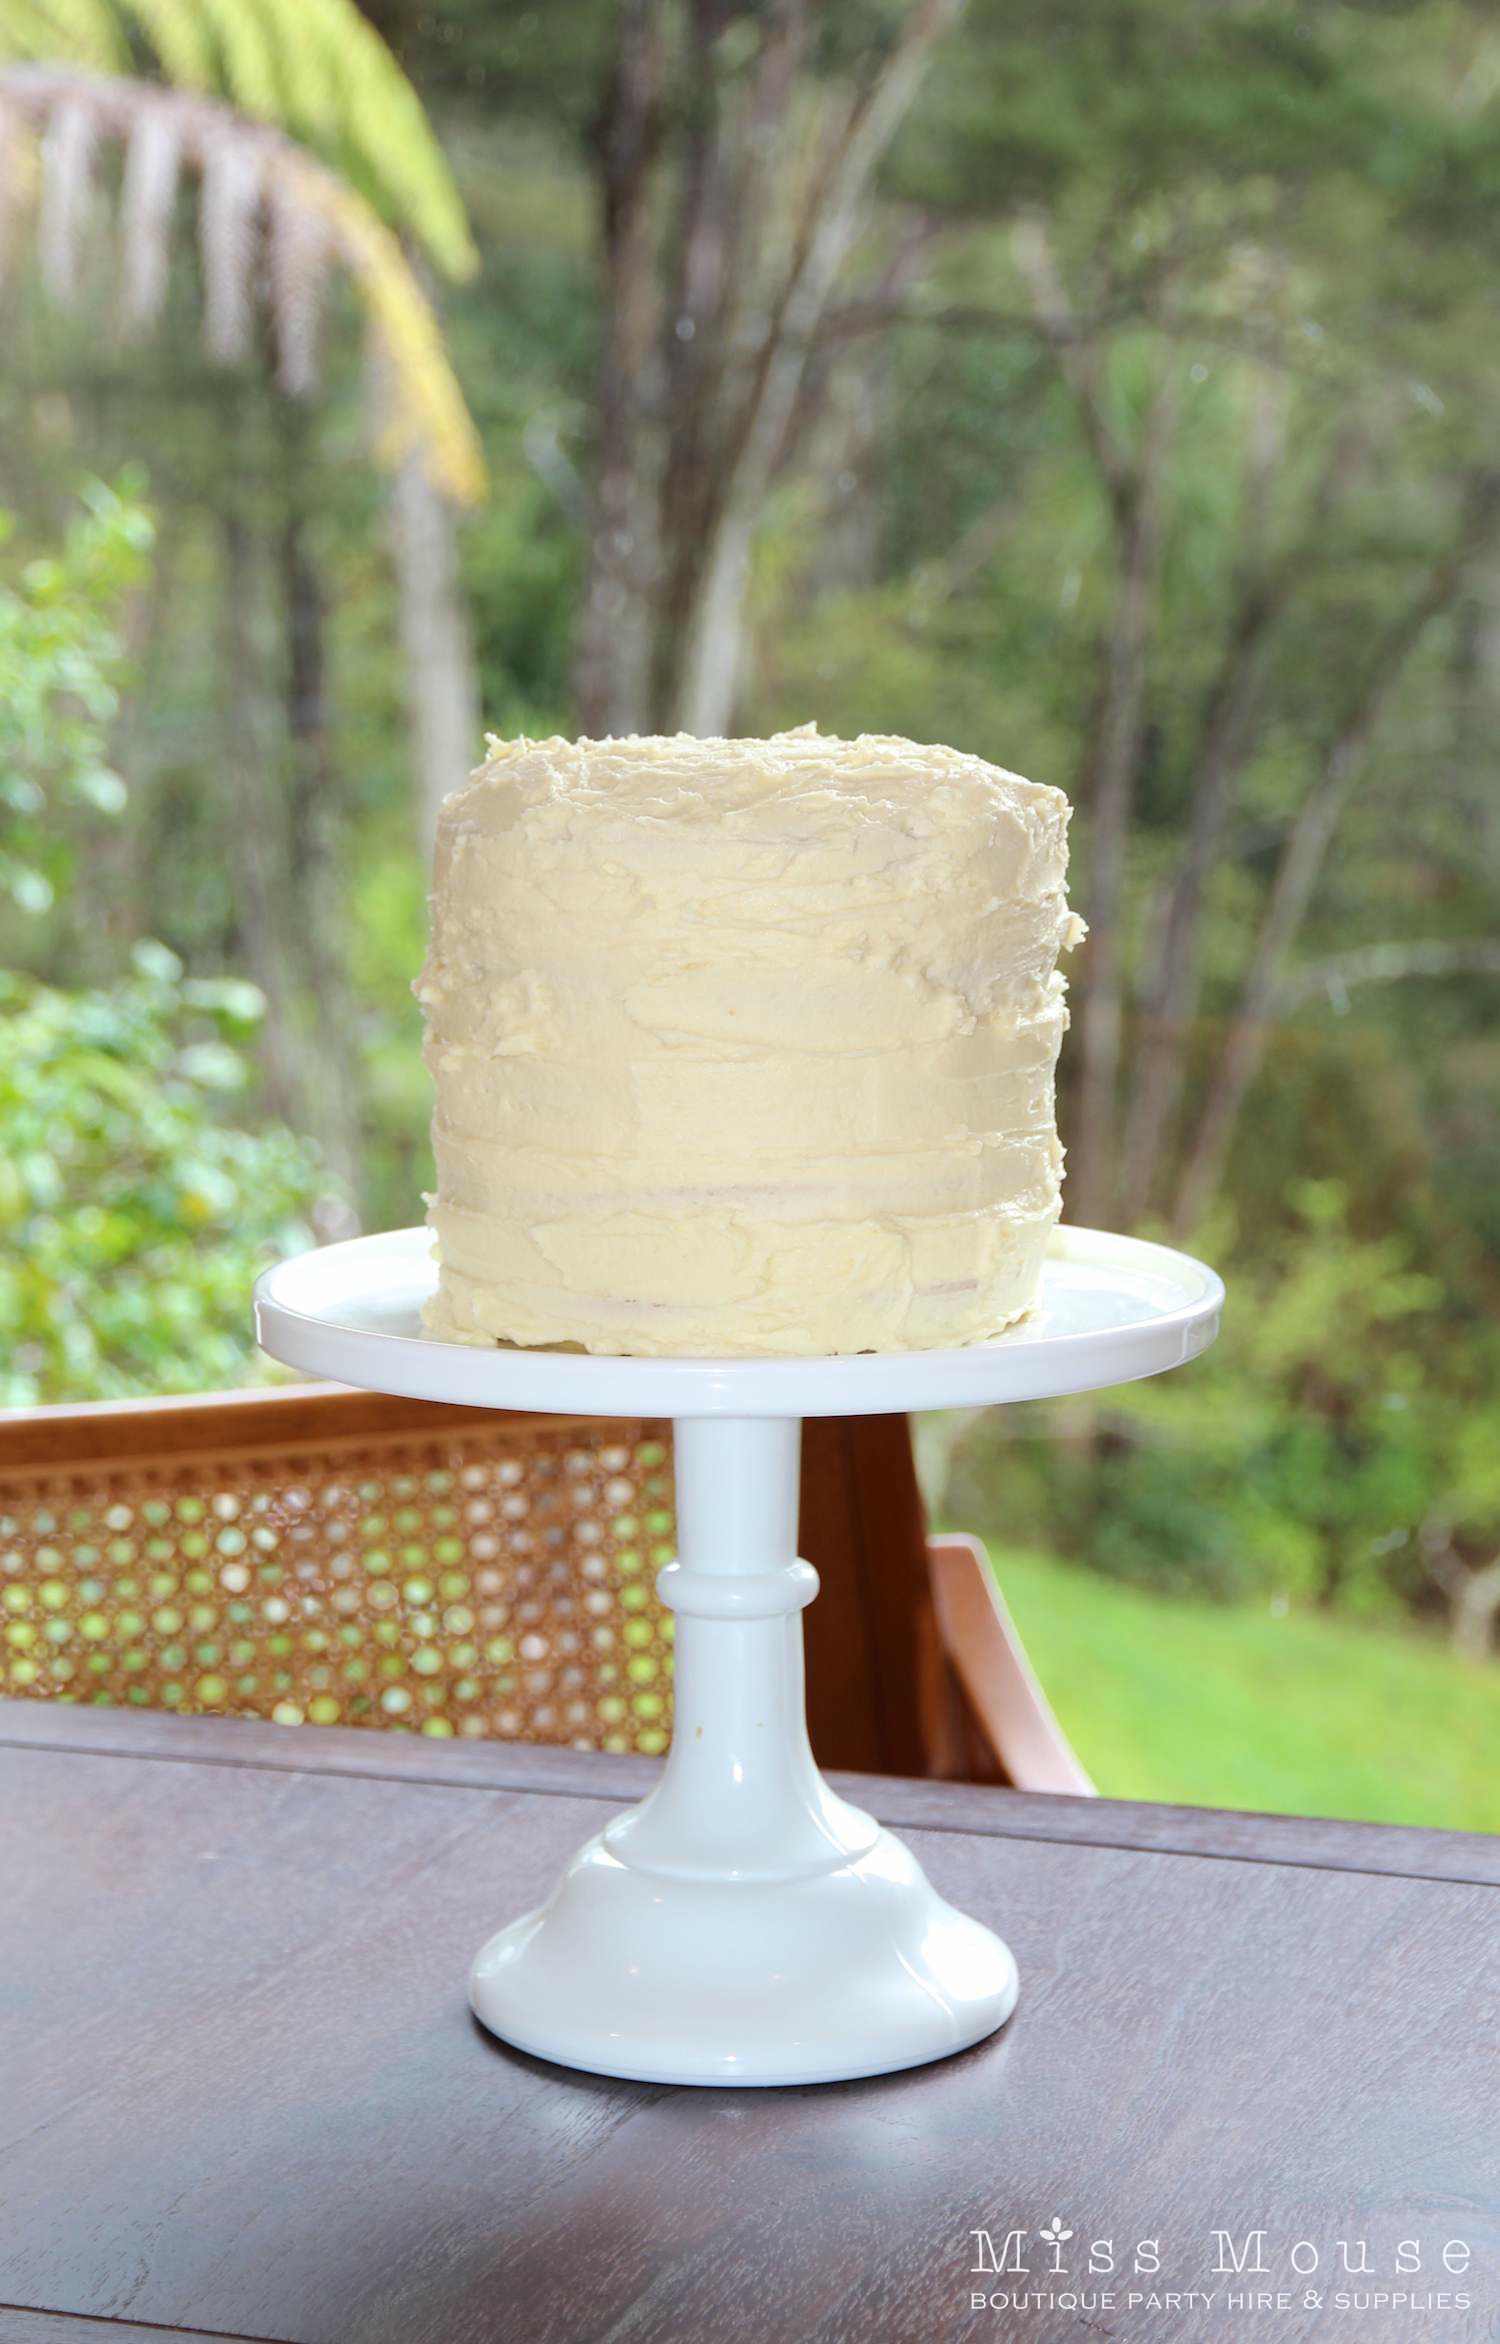
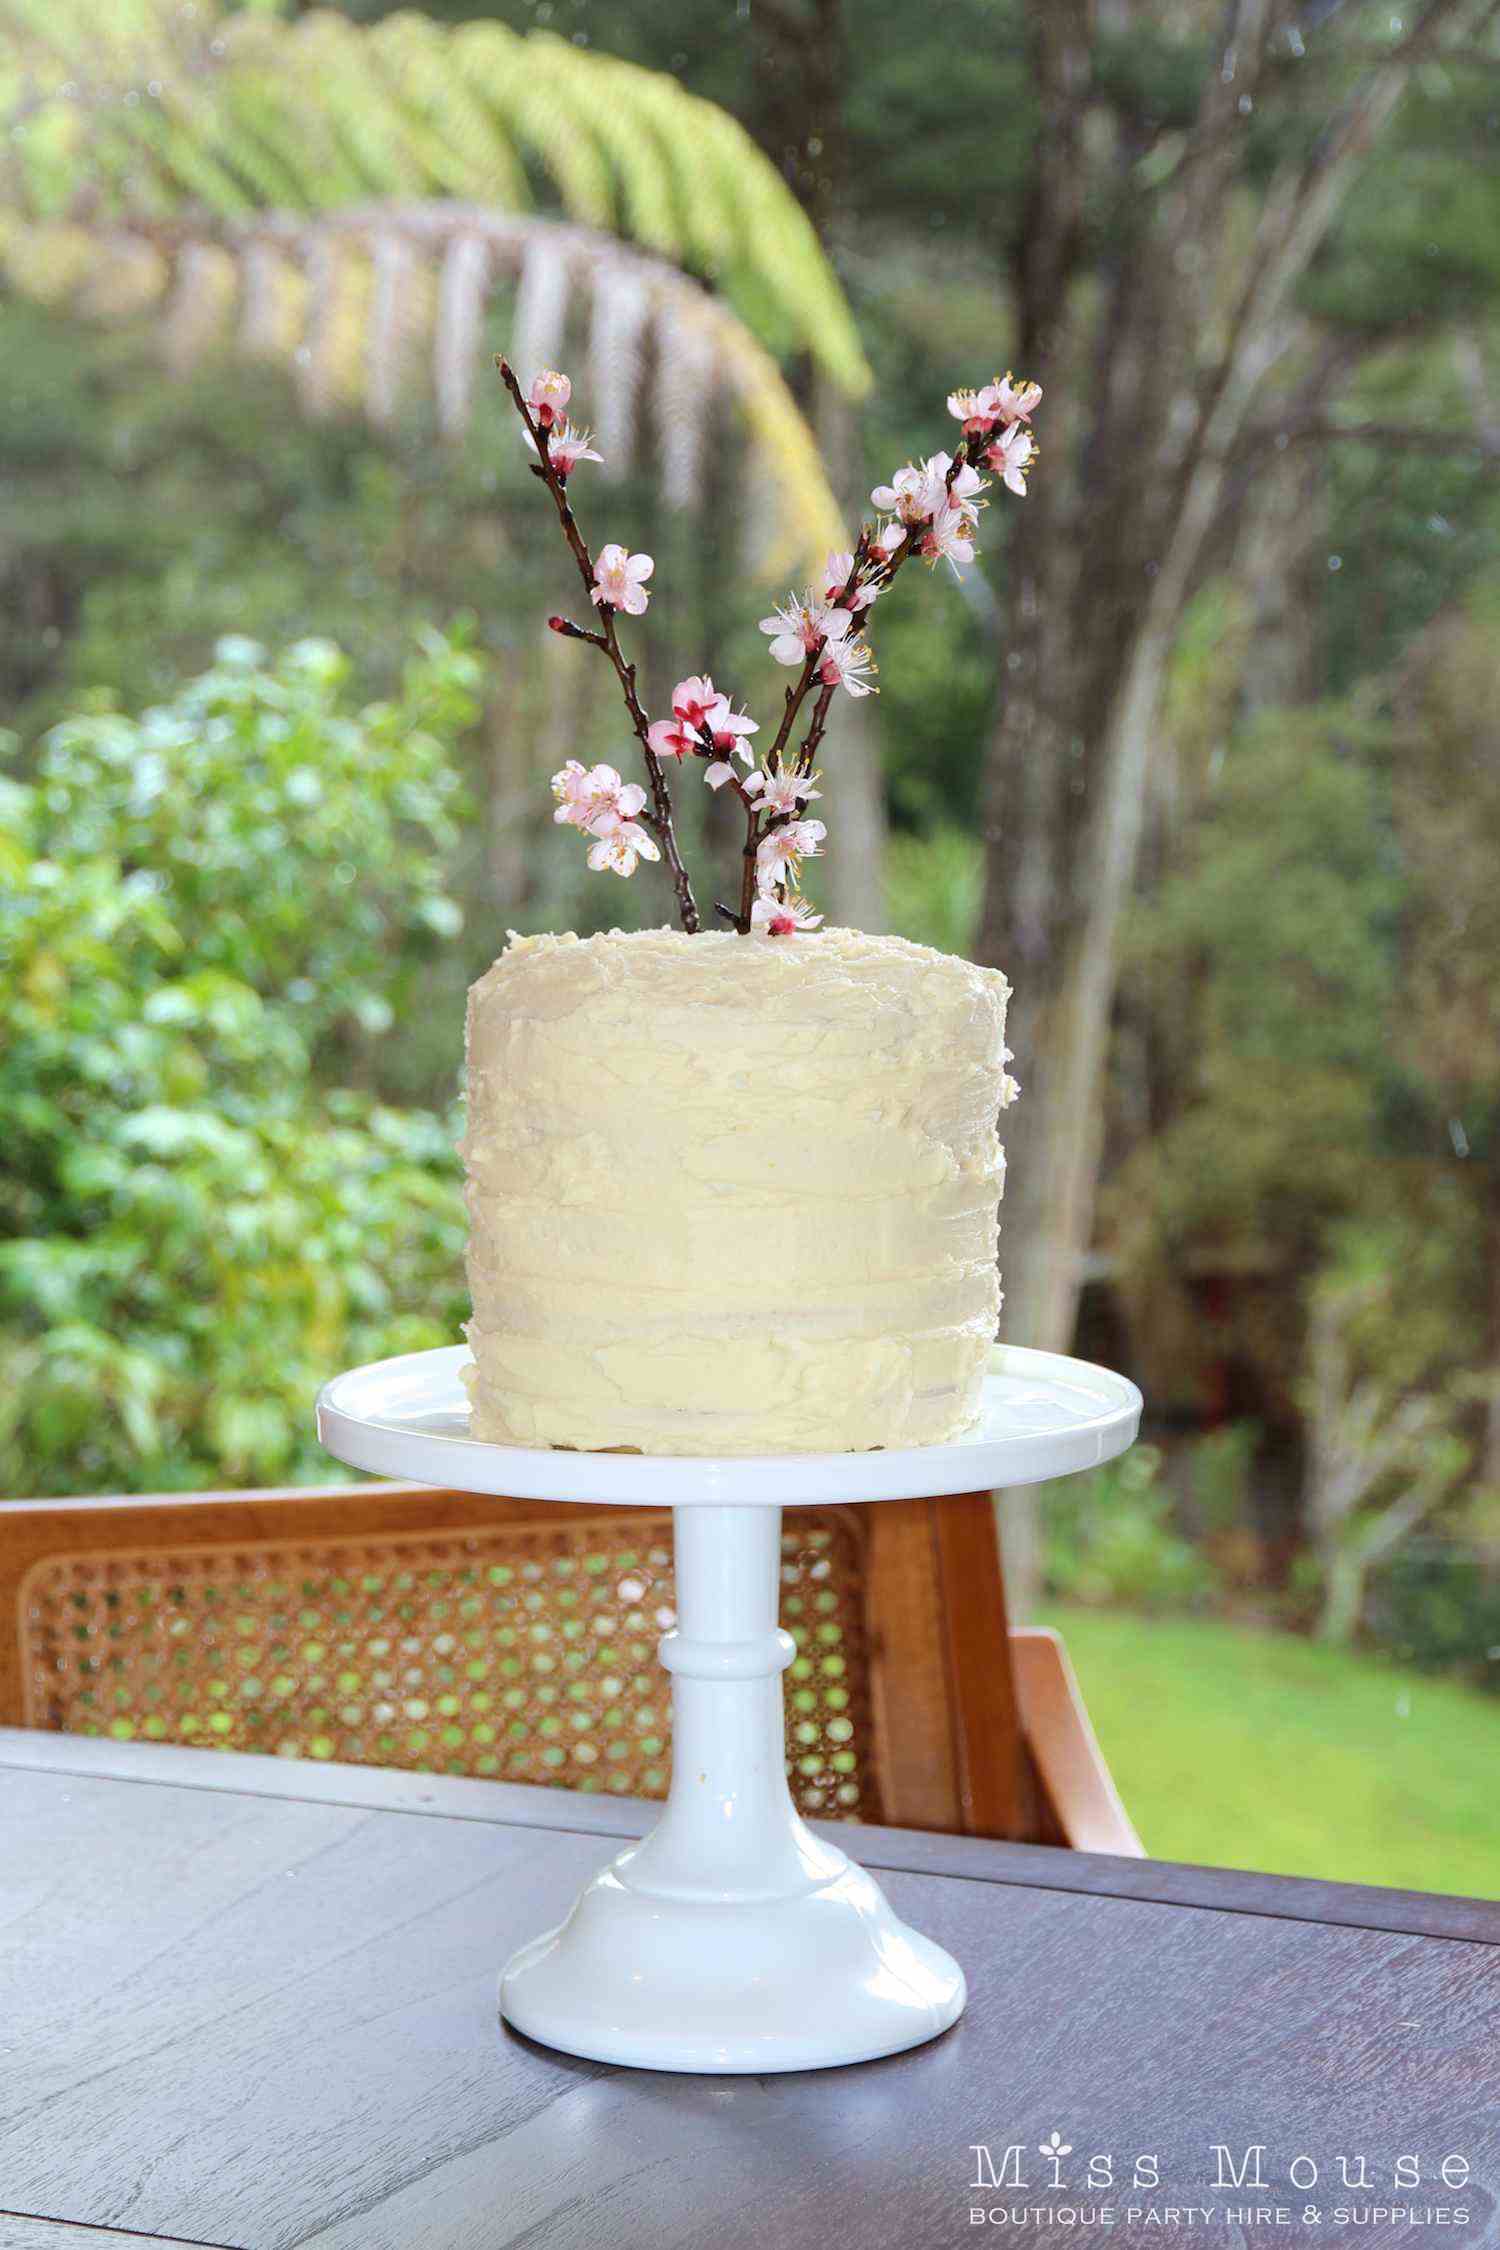
Icing the sides of the cake was a breeze using the Wilton Square End 11″ Spatula. Here you can see the cake with no decoration. It looks simple and understated.
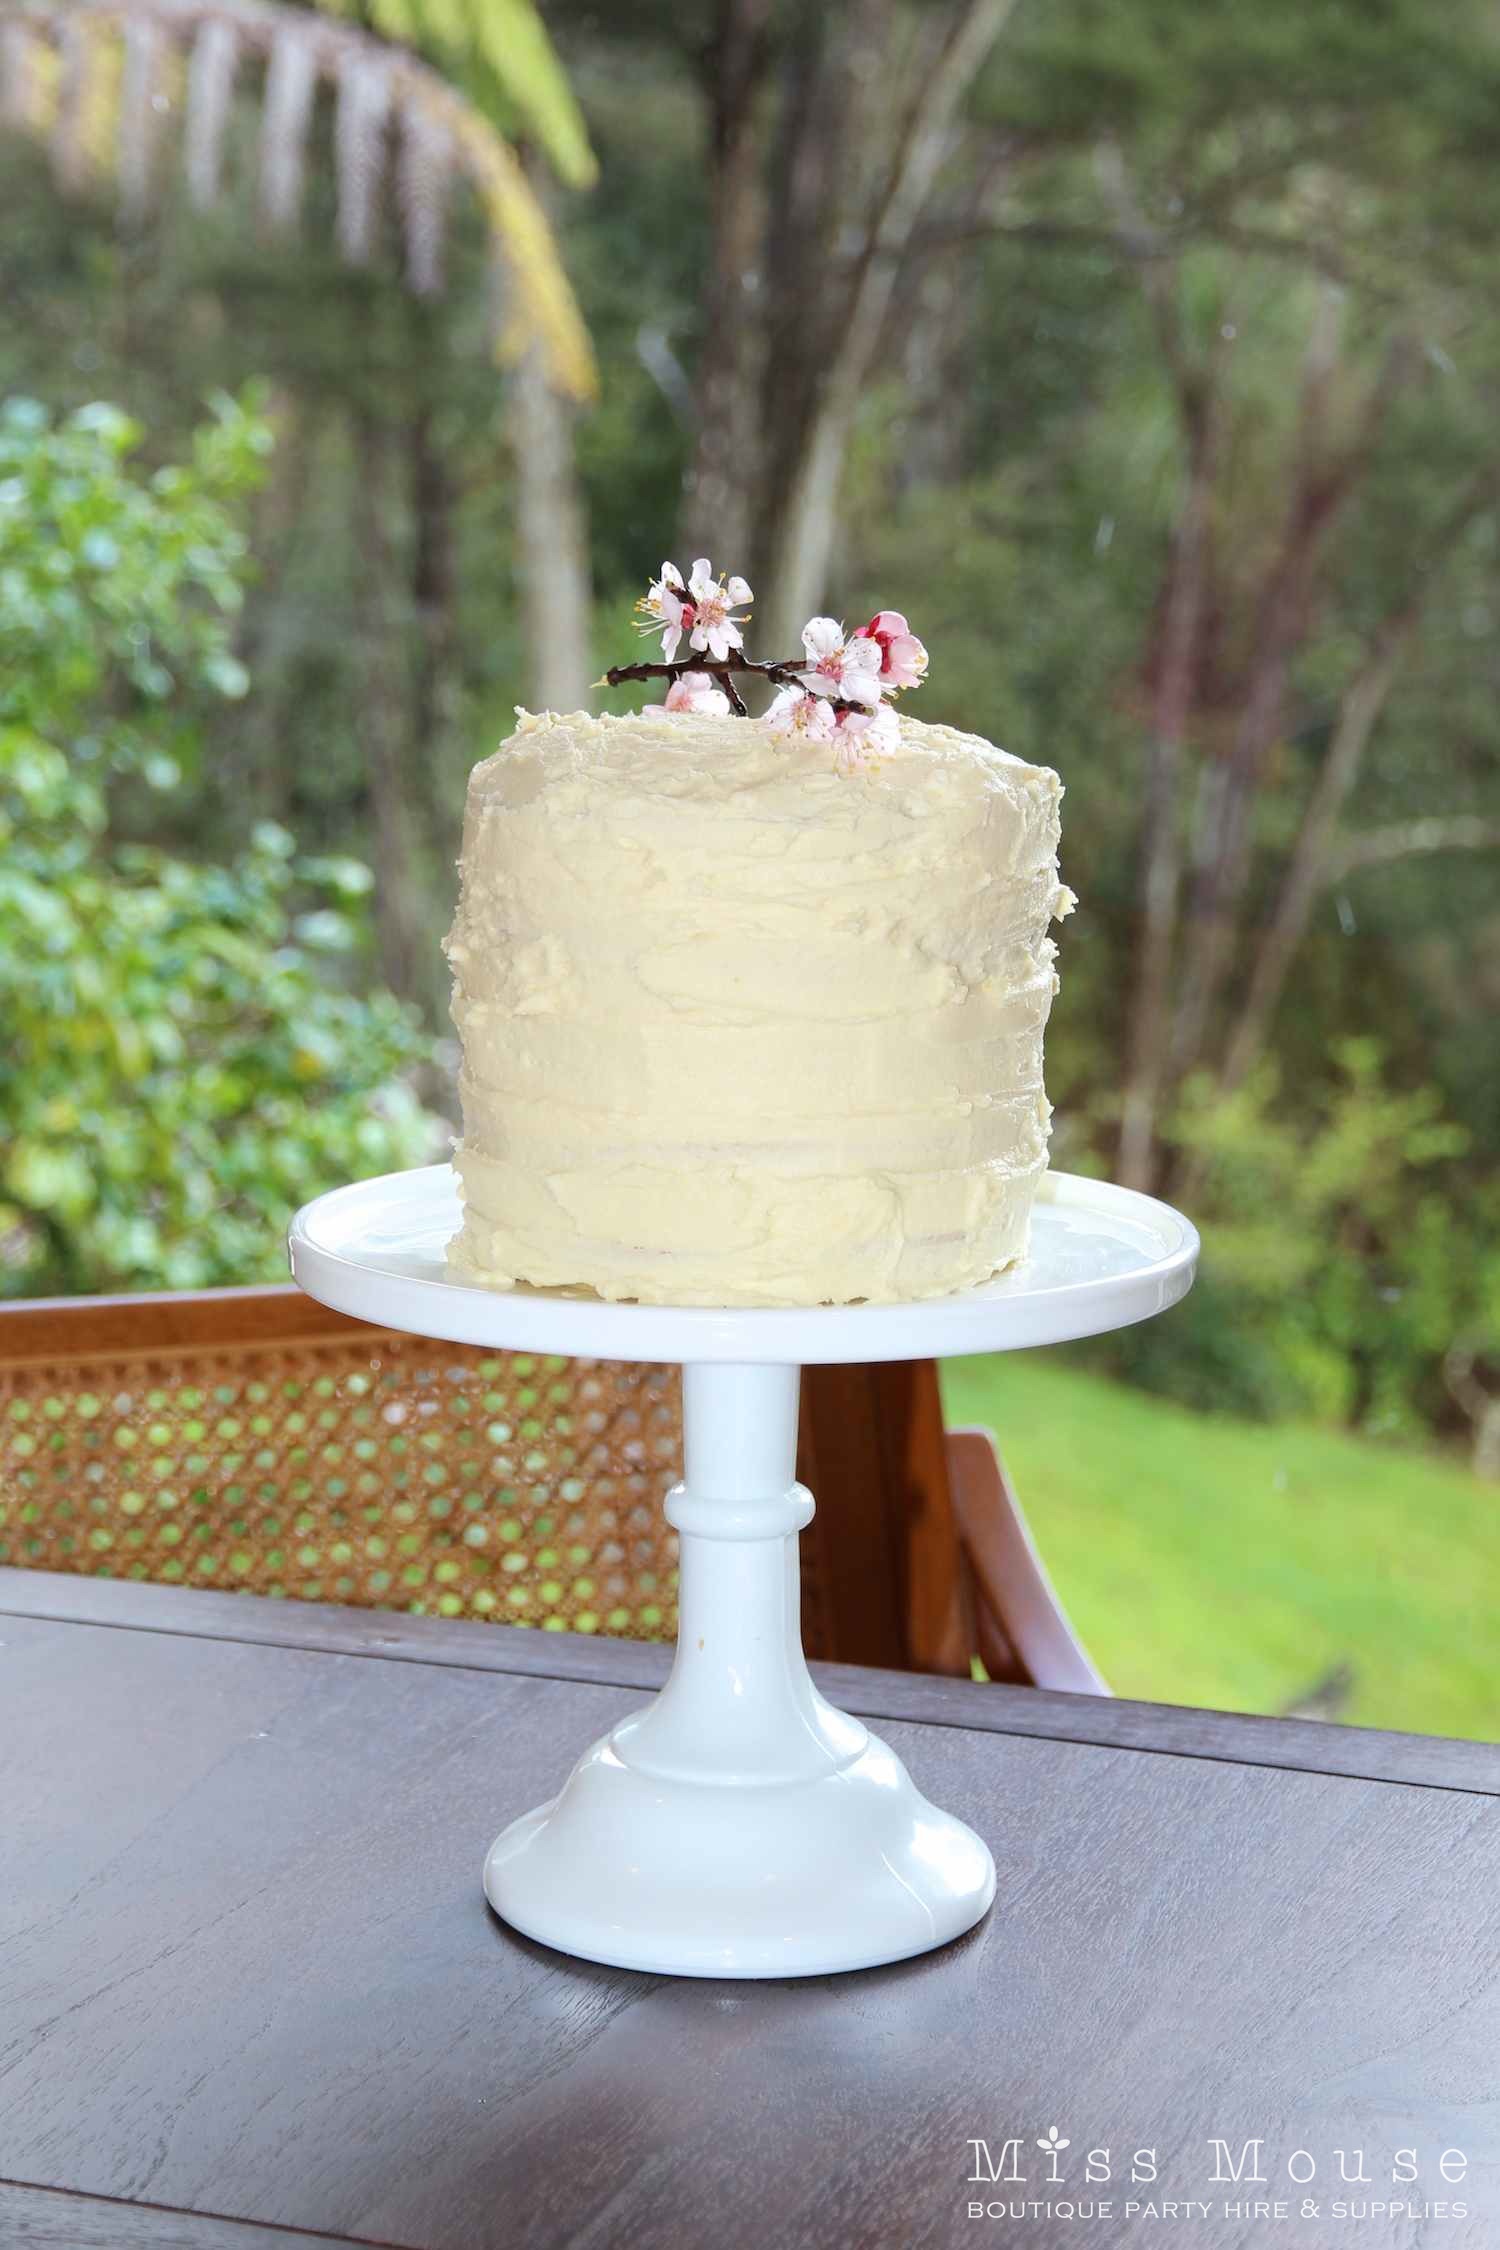
And here I have decorated the top using some branches of blossoms from our apricot tree (it was a bit of a sacrifice snipping these branches off!).
My girls loved sticking the branches into the top of the cake. I like how the height of the branches balances the height of both the cake and the gorgeous milk glass pedestal.
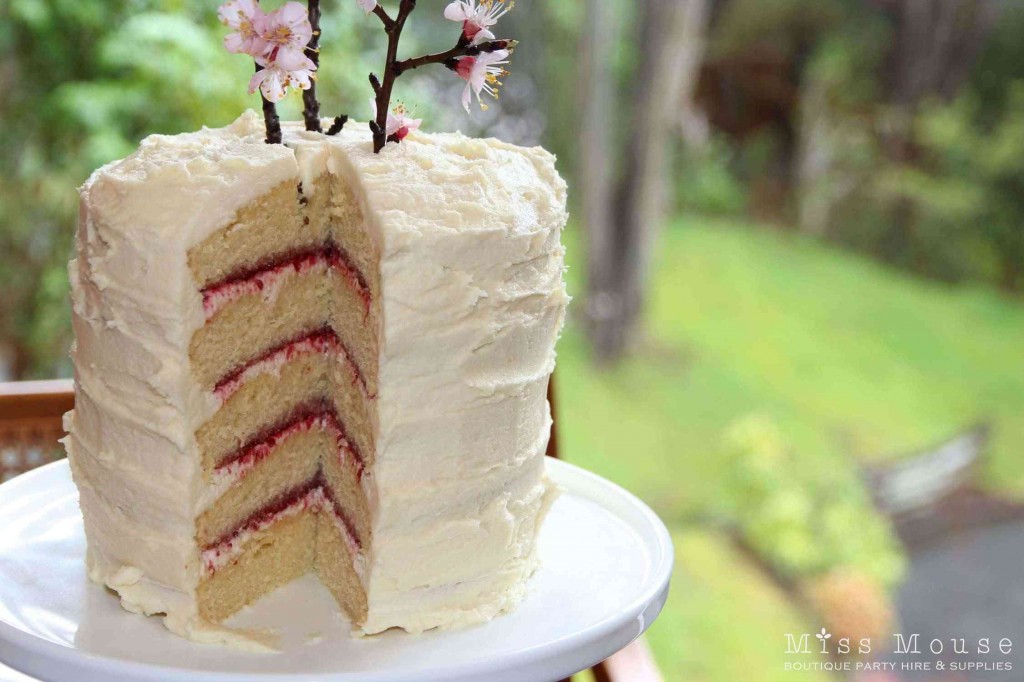
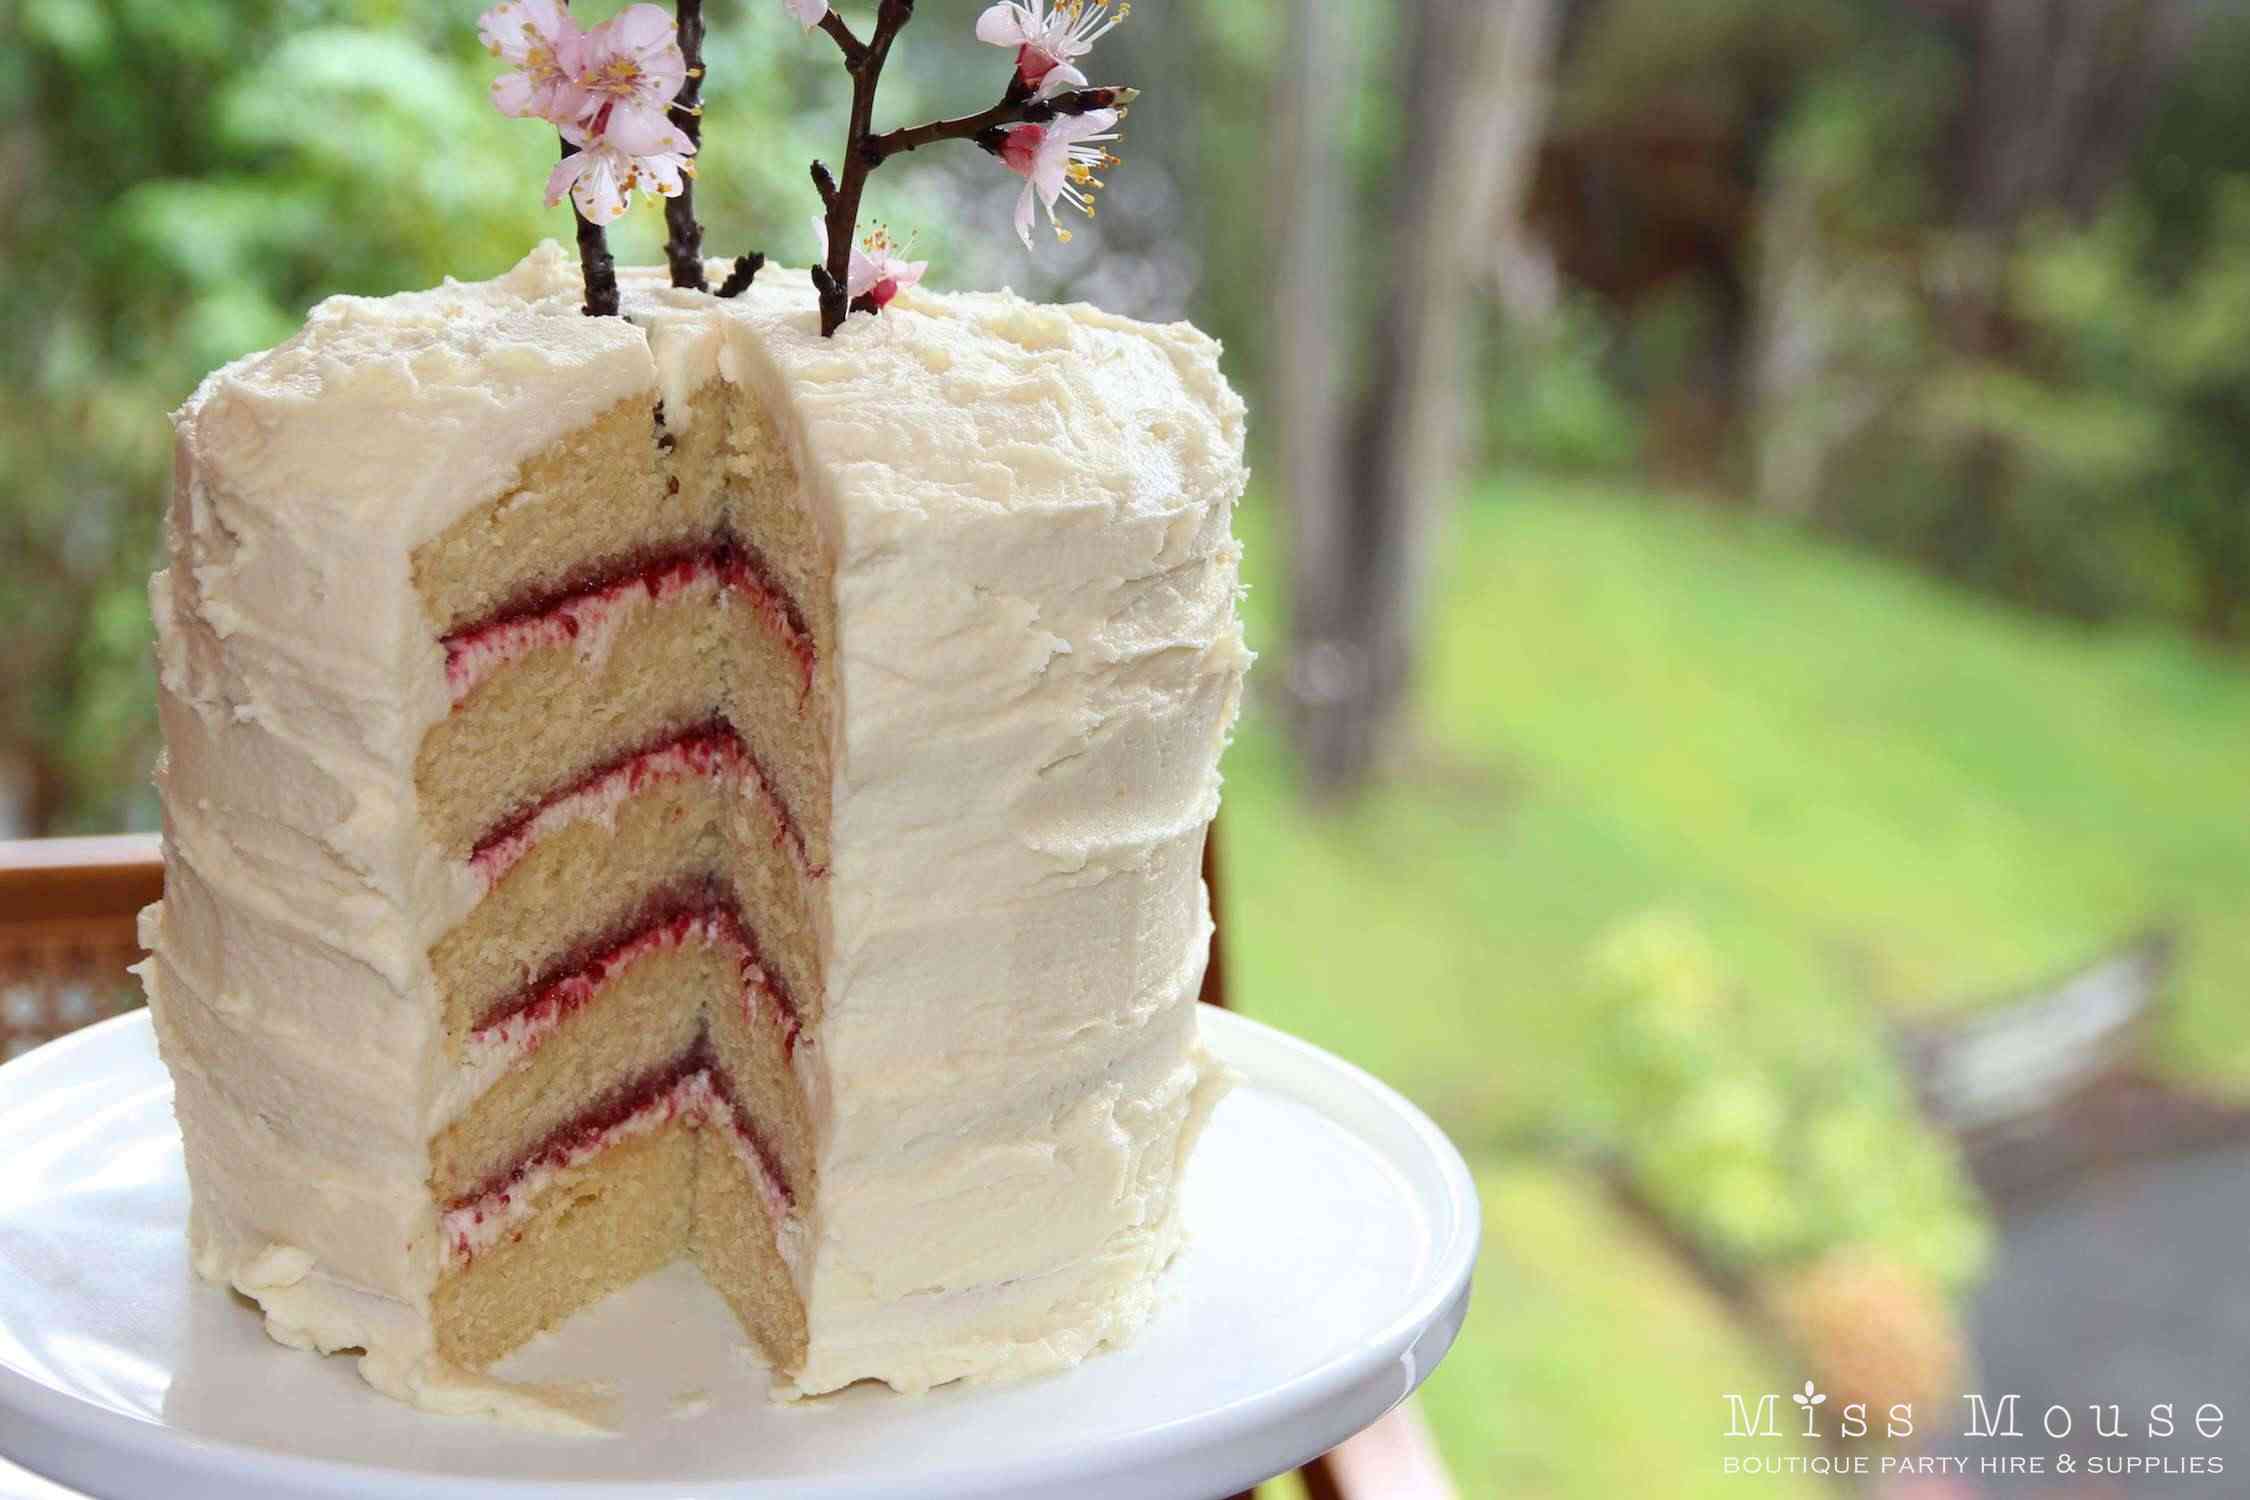
And the best thing about layer cakes is how neat they look once you cut into them.
Layer cakes are a great option for kids birthday cakes as they give you lots of height which always looks impressive, especially if you pop the cake onto a nice pedestal. They also give you the ability to do interesting things with the layers. You could do rainbow coloured layers, an ombre cake, cut out a hole in the 3 middle layers and fill with sweets for a piñata style cake or just keep it simple like I have done above. All of these options are really easy and simple styling is always good when it comes to kids parties.
Happy baking everyone!
x Kylie
Credits:
Recipe: Made From Scratch
Party Supplies: Miss Mouse
Photography: Miss Mouse

Yummy!! Thanks for taking me through the steps of your layer cake. It doesn’t seem quite so daunting now.
They are super easy Keryn, you can do it! Thanks for stopping by 🙂